SESE PRINTING
Custom Book Printing
Since 1992
Custom Book Printing
Since 1992

Product details
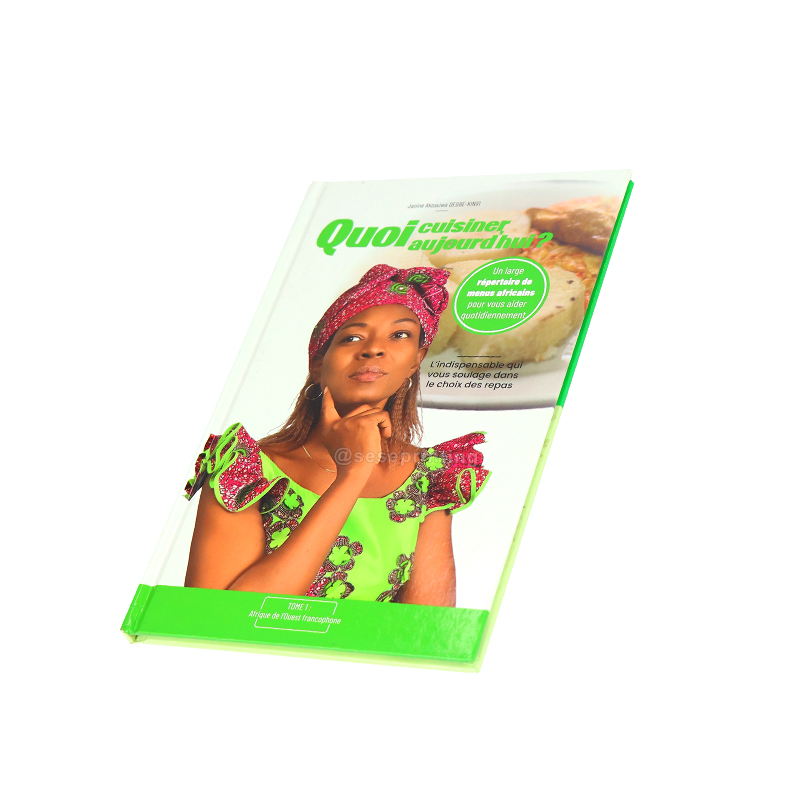
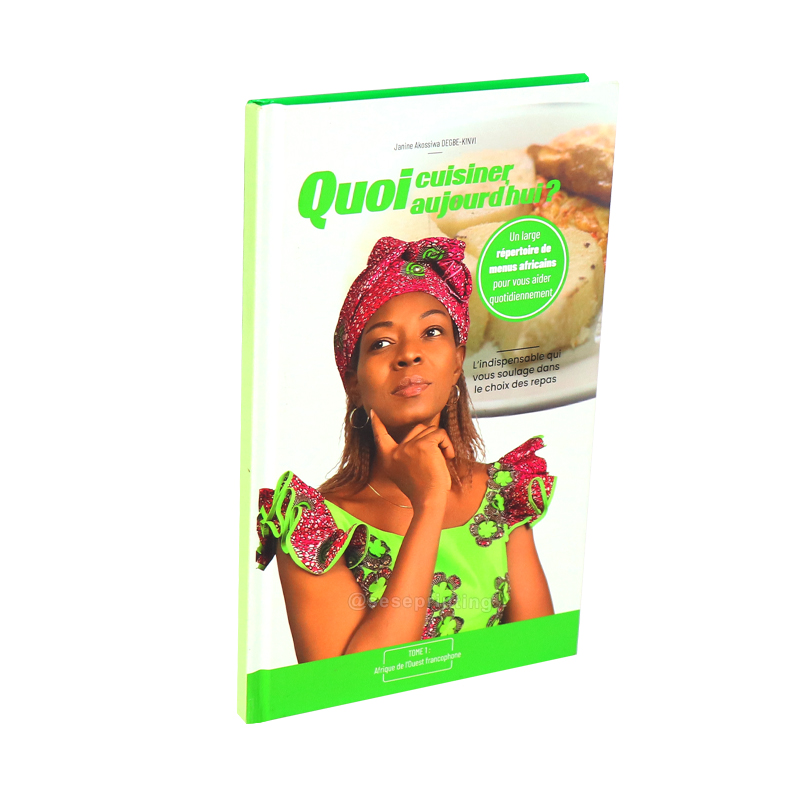
| Product Name | Recipe Book Printing |
| Material | Glossy/Matt Art Paper, Offset Paper, Woodfree Paper, Writing Paper, Light Coated Paper, Special Type Paper, Grey Board, Kraft Paper, Coated Paper, And so On. |
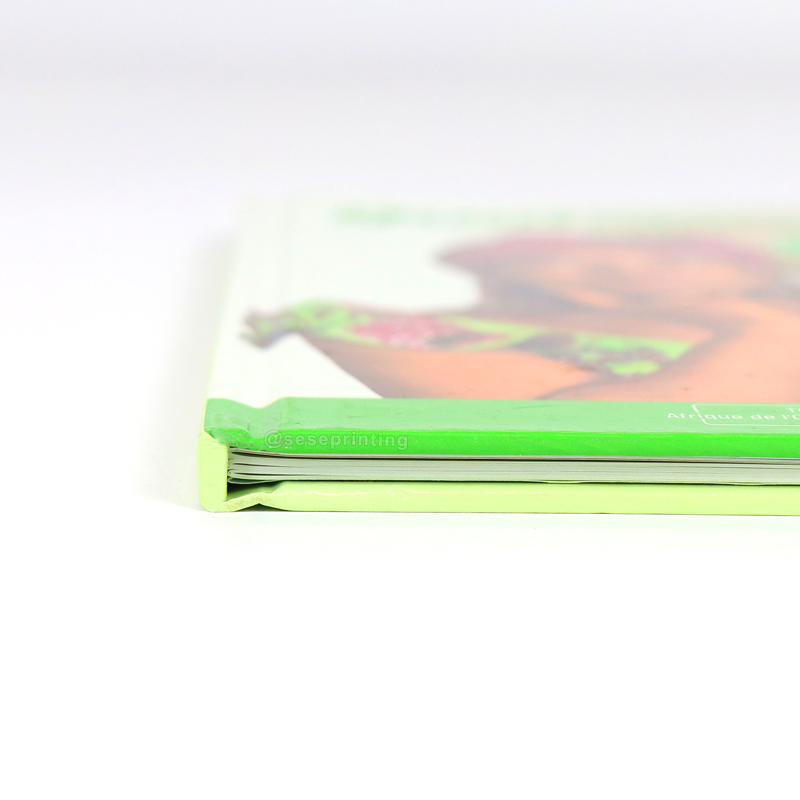
| Binding | Thread Sewing Binding, Saddle-Stitching Binding, Wire-O Binding, Spiral Binding, Perfect Binding, Case Bound, Etc. |
| Certification | ISO9001, SA8000, FSC |
| Design | From Clients,OEM |
| Size | Decided by Client |
| Printing | CMYK or Pantone |
| Artwork Format | AI, PDF, ID, PS, CDR |
| Finishing | Gloss or Matt Lamination, Spot UV, Emboss, Deboss and Sprayed Edges |
|
|
|
Book Size |
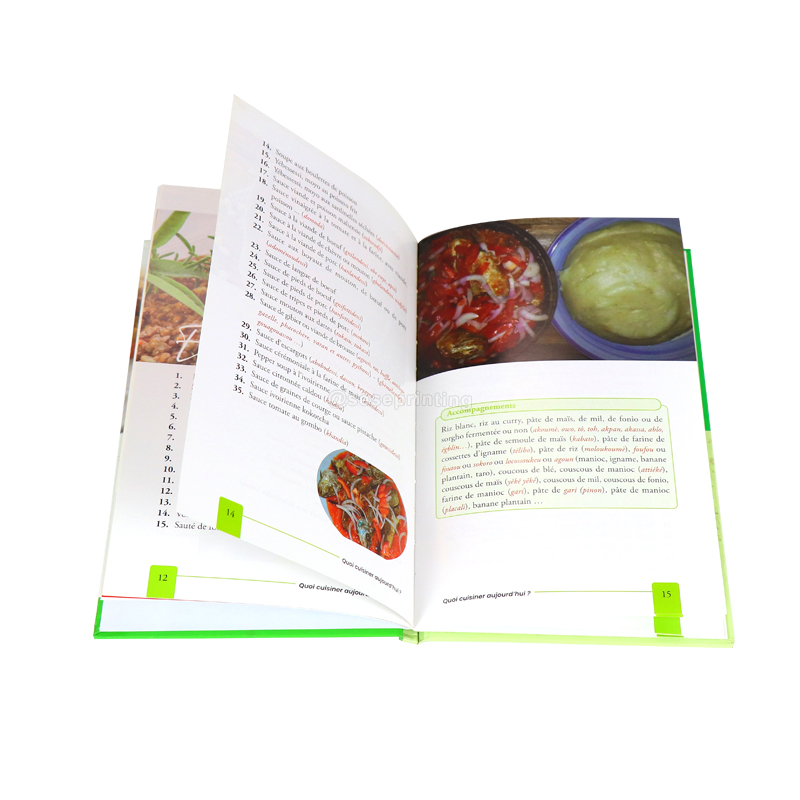
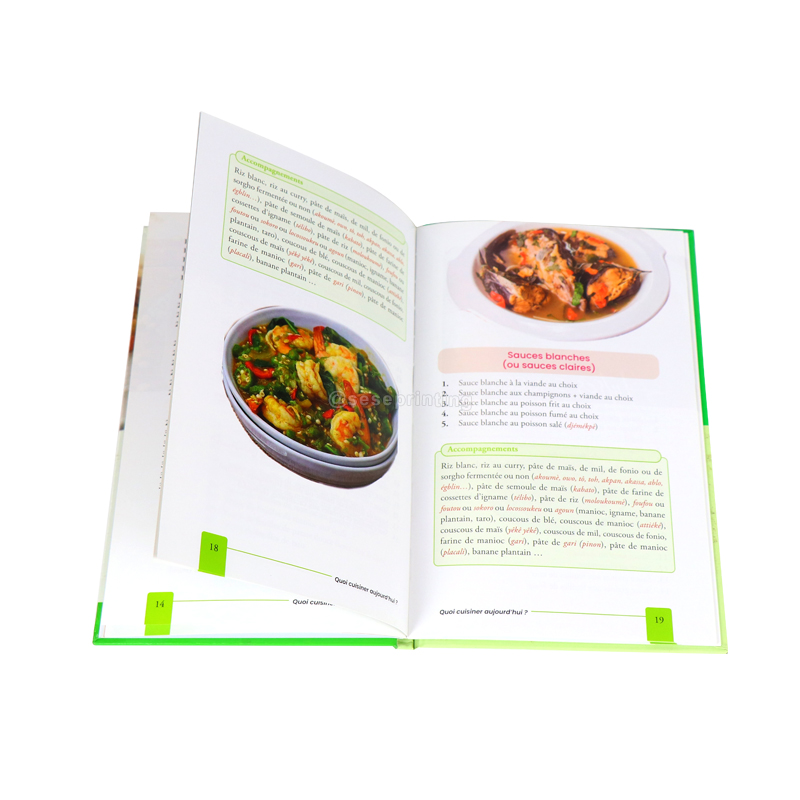
Full Color Printing |
|
|
|
Glossy Lamination Cover |
Hardcover Binding |
 Related Suggestion

 Tel
Tel
 Email
Email
 Address
301, NO.233 PingKang Road, Shiqiao St.,Panyu District, Guangzhou City, Guangdong Province, China 511400


 Home
Home