BOOK PRINTING FACTORY
Custom Book Printing
Since 1992
Custom Book Printing
Since 1992

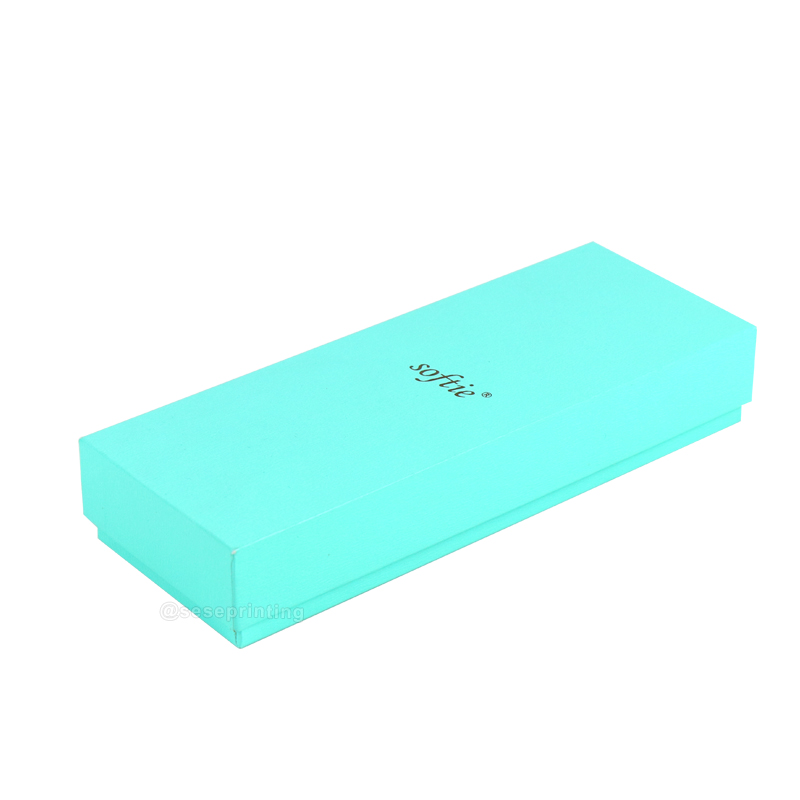
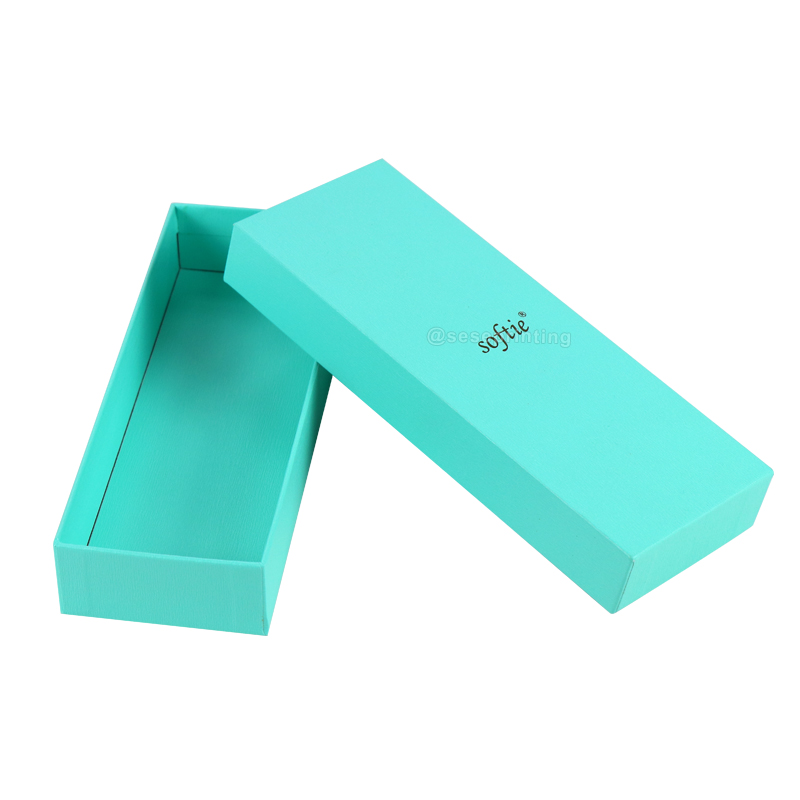
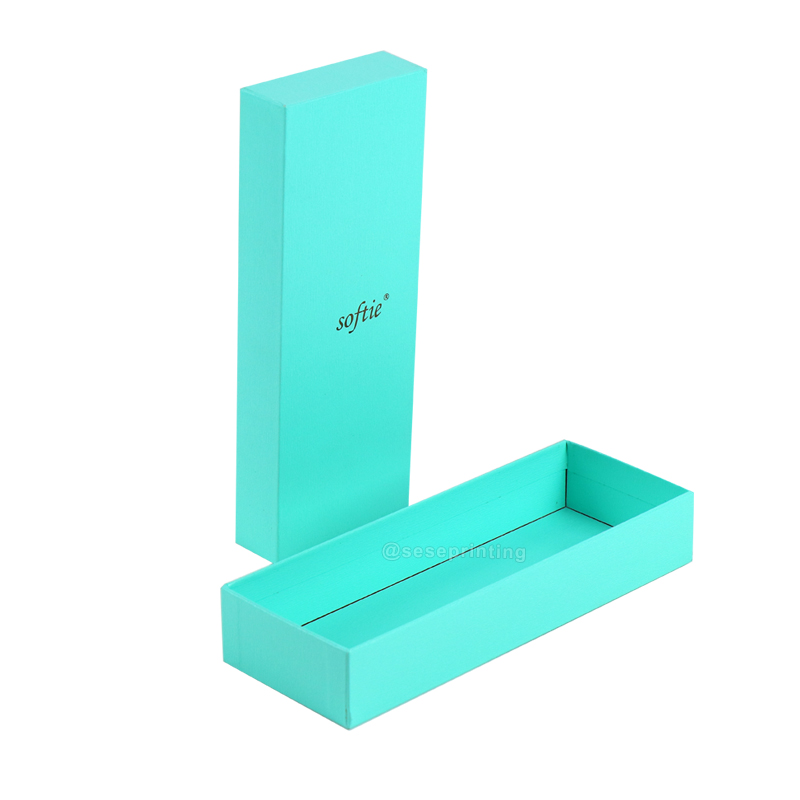
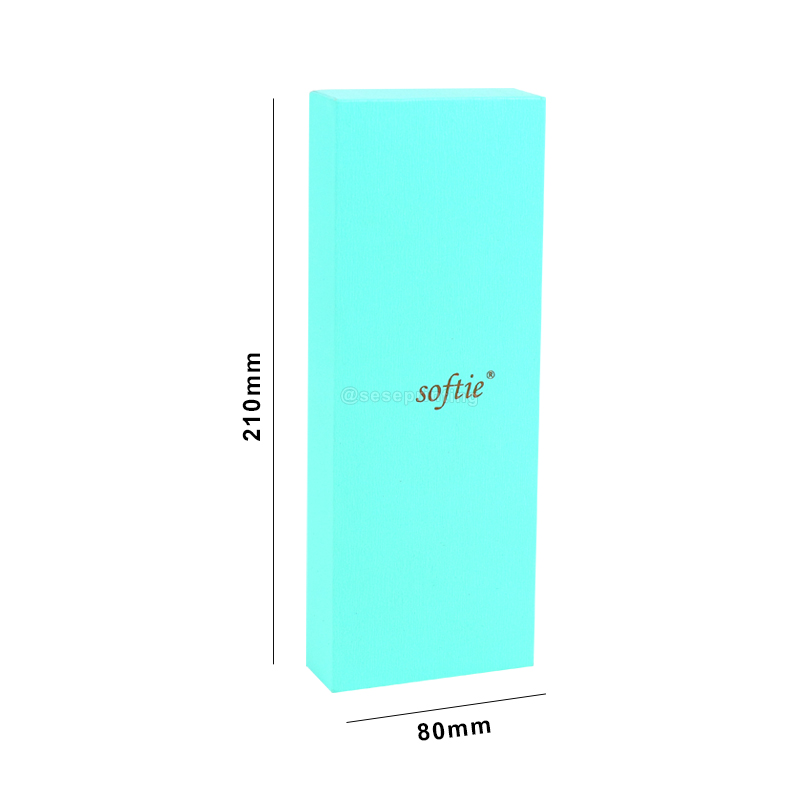
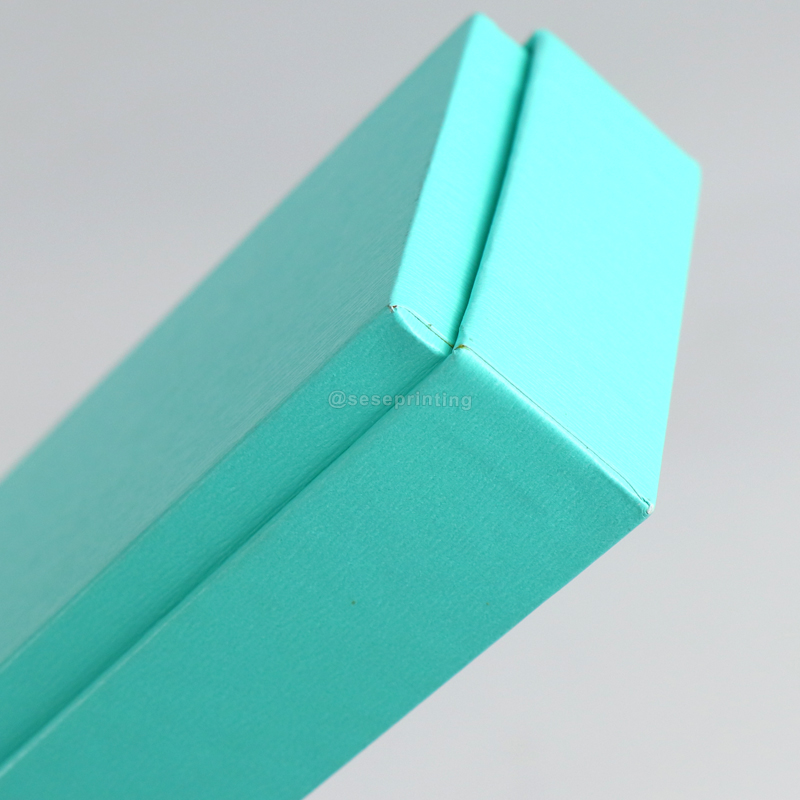
Custom 2 Piece Rigid Box Lid and Bottom Packaging Box Printing
Product details
| Box Types | Shipping Box, Tuck Box, Magnetic Box, Tube Box, Lid and Base Box, Gift Box, Drawer Box and Customized. |
| Material |
Corrugated Paper, Glossy Art Paper, Kraft Paper, Fancy Paper, Glossy White Art Card, Paperboard, Woodfree Paper, Etc. |
| Size | L×W×H (cm) -- According to Customers' Specific Requirements |
| Accessories | Magnet, Ribbon, Bowknot, Eva, Plastic Tray, Sponge, Flowers, PVC/PET/PP Window, Etc. |
| Color | CMYK, Pantone colors |
| Finishing | Lamination, Varnishing, Foil Stamping, Embossing, Debossing, Uv and Customized |
|
|
|
|
Rigd Box Size |
Custom Logo |
Full Color Printing |
 Related Suggestion

 Tel
Tel
 Email
Email
 Address
301, NO.233 PingKang Road, Shiqiao St.,Panyu District, Guangzhou City, Guangdong Province, China 511400

 Whatsapp


 Home
Home