banner
Home - Products - Paper Packaging - Paper Box
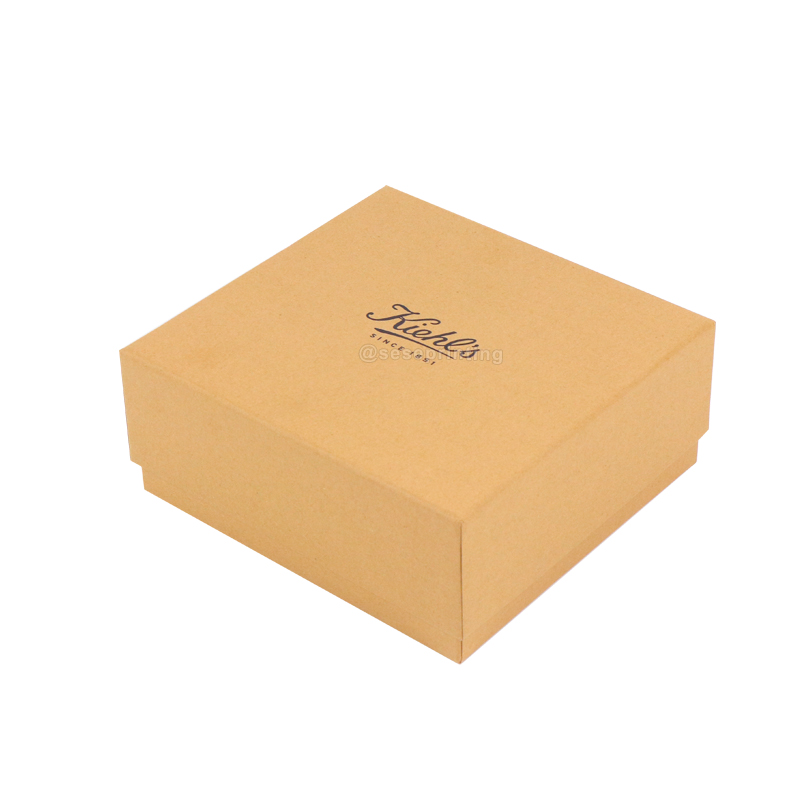
Custom Size Lid and Base Box Thick Kraft Paper Packaging Box

Custom Size Lid and Base Box Thick Kraft Paper Packaging Box

Item Name: Lid and Bottom Box
Paper Type: Coated Paper+Greyboard
Industrial Use: Cosmetic/Candle
Printing Handling: Custom Logo
Place of Origin: Guangdong, China(Mainland)
Color: CMYK
Custom Order: Accept
Produt Details

Custom Size Lid and Base Box Thick Kraft Paper Packaging Box

Product details

Box Types Shipping Box, Tuck Box, Magnetic Box, Tube Box, Lid and Base Box, Gift Box, Drawer Box and Customized.
Material

Corrugated Paper, Glossy Art Paper, Kraft Paper, Fancy Paper, Glossy White Art Card, Paperboard,

Woodfree Paper, Etc.

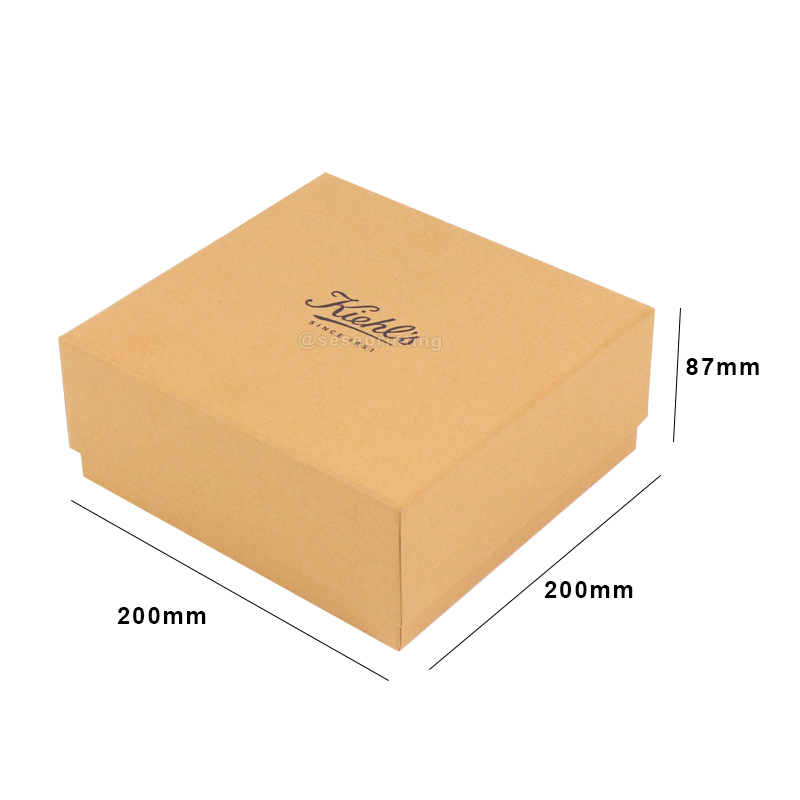
Size L×W×H (cm) -- According to Customers' Specific Requirements
Accessories Magnet, Ribbon, Bowknot, Eva, Plastic Tray, Sponge, Flowers, PVC/PET/PP Window, Etc.
Color CMYK, Pantone colors
Finishing Lamination, Varnishing, Foil Stamping, Embossing, Debossing, Uv and Customized

Box Size

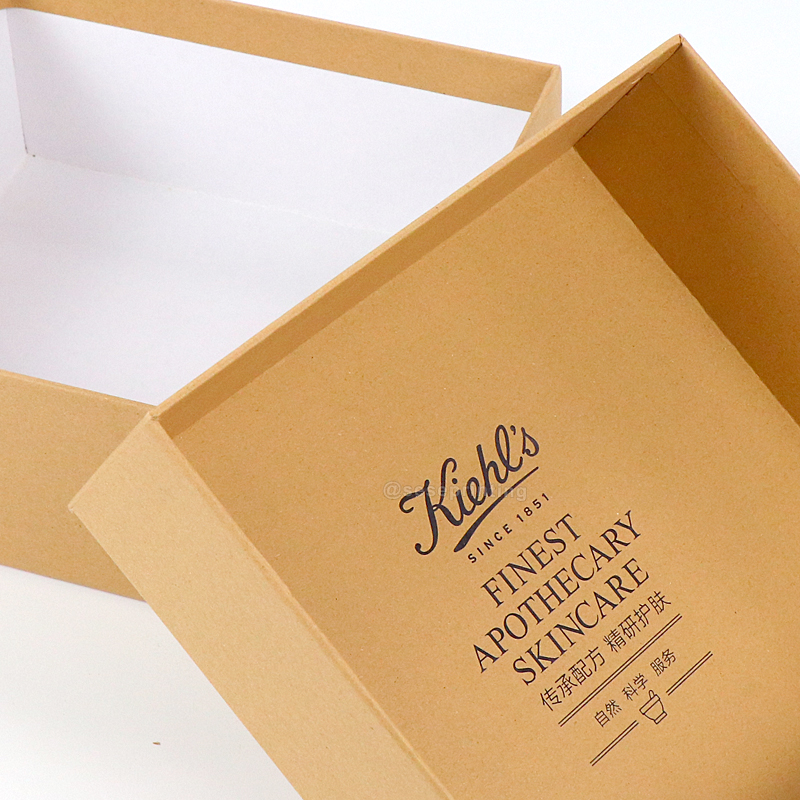
Custom Logo

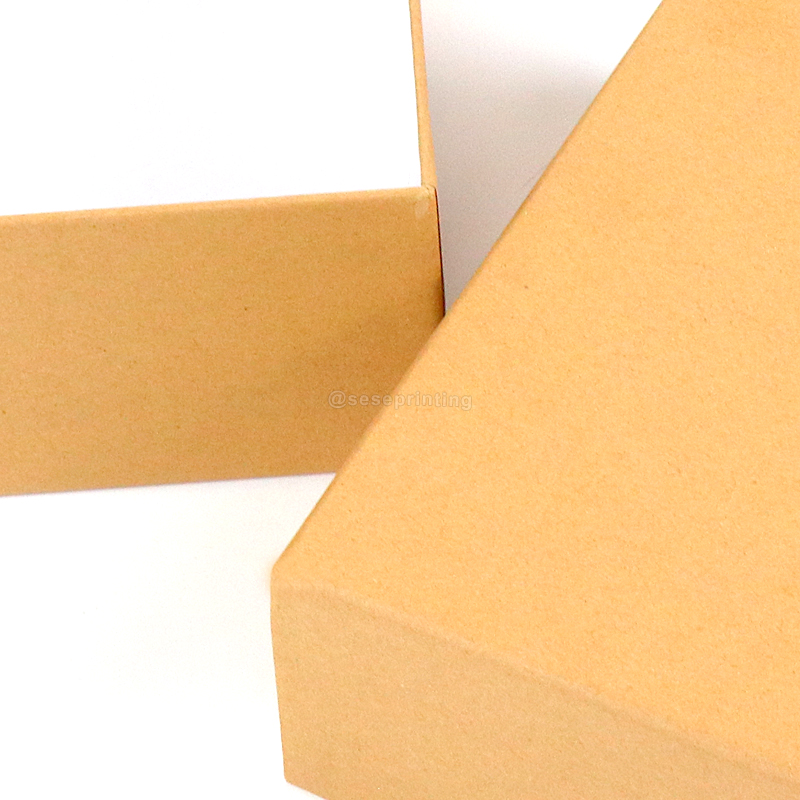
Kraft Cover

Creating custom-size lid and base boxes involves several steps, including design, material selection, printing, and assembly. Here's a guide to help you through the process:

Determine Box Dimensions:
Decide on the dimensions of your lid and base box. Measure the intended contents to ensure a proper fit.
Consider the purpose of the box and any specific requirements for the items it will contain.

Select Box Material:
Choose a suitable material for your box. Common options include cardboard, corrugated board, or specialty paperboard.
Consider the thickness of the material based on the weight and fragility of the items the box will hold.

Design the Box Structure:
Work with a graphic designer or structural engineer to create a custom box structure that includes both the lid and the base.
Decide on features such as flaps, tabs, and closure mechanisms. Ensure that the design is functional and provides a secure closure.

Incorporate Branding and Design Elements:
Add your branding elements, such as logos, colors, and any other graphics, to the box design.
Consider special finishes like embossing, debossing, or foil stamping to enhance the visual appeal.

Print Proofing:
Request a print proof from your chosen printing company to review the final design before mass production. This allows you to check for any design or color issues.

Printing Options:
Choose a printing method based on your budget and design requirements. Options include offset printing, digital printing, or other specialized printing techniques.

Color Considerations:
Ensure that the color accuracy meets your expectations. Provide Pantone color codes if you have specific brand colors.
Decide whether the box will be printed in full color or if specific elements will be emphasized with spot colors.

Die-Cutting and Finishing:
Work with the printer to set up the die-cutting process for your custom box shape.
Discuss any additional finishing options, such as gloss or matte coatings, to enhance the visual appeal and durability.

Assembly and Quality Control:
Once printed and die-cut, the boxes need to be assembled. Ensure that the assembly process is straightforward and that the boxes fold and close as intended.
Conduct a quality control check to verify that the finished boxes meet your specifications.

Packaging and Distribution:
Plan how you'll package and distribute the boxes. Consider protective measures to prevent damage during transportation.

Leave a Message
loading
Technical Support: Magic Lamp
Whatsapp
Send an Email