banner
Home - Products - Journal Notebook - Spiral Notebooks
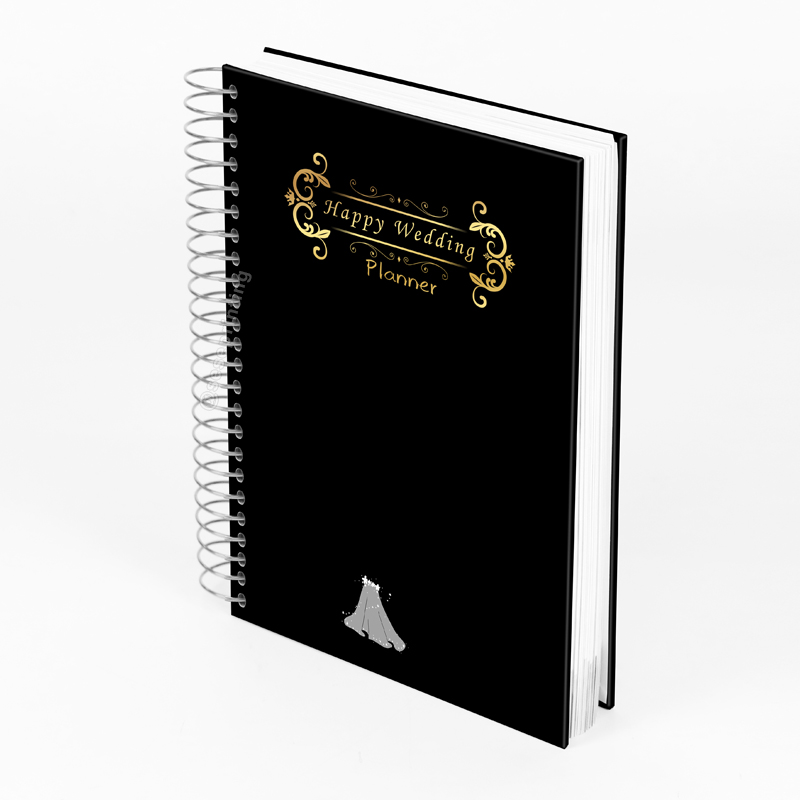
Custom Journal Printing Personalized Spiral Bound Wedding Planner

Custom Journal Printing Personalized Spiral Bound Wedding Planner

Name: Wedding Planner
Material: Coated Cover
Finishing: Foil Stamping Logo
Color: CMYK
Size: A5
MOQ: 500 pcs
OEM service: Yes
Package: Bubble Bag + Strong Carton
Produt Details

Custom Journal Printing Personalized Spiral Bound Wedding Planner

Product details

Product Name  Wedding Planner
Material Art Paper, Kraft Paper,Coated Paper, White or Grey Paper, Silver or Gold Card Paper, Special Paper Etc.
Binding Wire-O Binding, Spiral Binding, Hardcover Binding, Perfect Binding, Disc Bound Binding, Binder Binding and Others.
Certification ISO9001, SA8000, FSC
Design From Clients,OEM
Size A4, A5 or Custom
Printing CMYK or Pantone
Artwork Format AI, PDF, ID, PS, CDR
Finishing Gloss or Matt Lamination, Gold Foil Stamping, Emboss, Deboss and More

Printing a spiral-bound wedding planner involves several steps. Here's a general guide to help you through the process:

Design the Wedding Planner:
Design your wedding planner using a word processor or design software. Include sections for budgeting, guest lists, vendor contacts, timelines, seating charts, and any other relevant information.

Choose Paper:
Select a high-quality paper for printing. Consider using thicker paper for the cover and a lighter weight for the inside pages. Depending on your preferences, you might choose glossy or matte paper.

Binding:
For a spiral-bound planner, you'll need a plastic coil binding machine. You can purchase one or see if a local print shop offers binding services. Follow the instructions provided with the binding machine to punch holes in the printed pages and then insert the coil binding.

Trimming:
Once the pages are bound, trim any excess paper from the edges to ensure they are neat and uniform.

Cover Design:
Design a cover for your wedding planner. This could include the couple's names, wedding date, and perhaps a photo or decorative elements. Print the cover on a thicker paper or cardstock for added durability.

Binding the Cover:
Punch holes in the cover to match the holes in the interior pages. Then, attach the cover to the bound pages using the same coil binding.

Final Touches:
Review the planner to ensure all pages are in order and nothing is missing. You might also consider adding tabs or dividers to help navigate different sections of the planner.

Distribution:
Once the wedding planner is complete, distribute it to the relevant parties, such as the couple, wedding planner (if applicable), and anyone else involved in the wedding planning process.

Leave a Message
loading
Technical Support: Magic Lamp
Whatsapp
Send an Email