banner
Home - Products - Journal Notebook - Spiral Notebooks
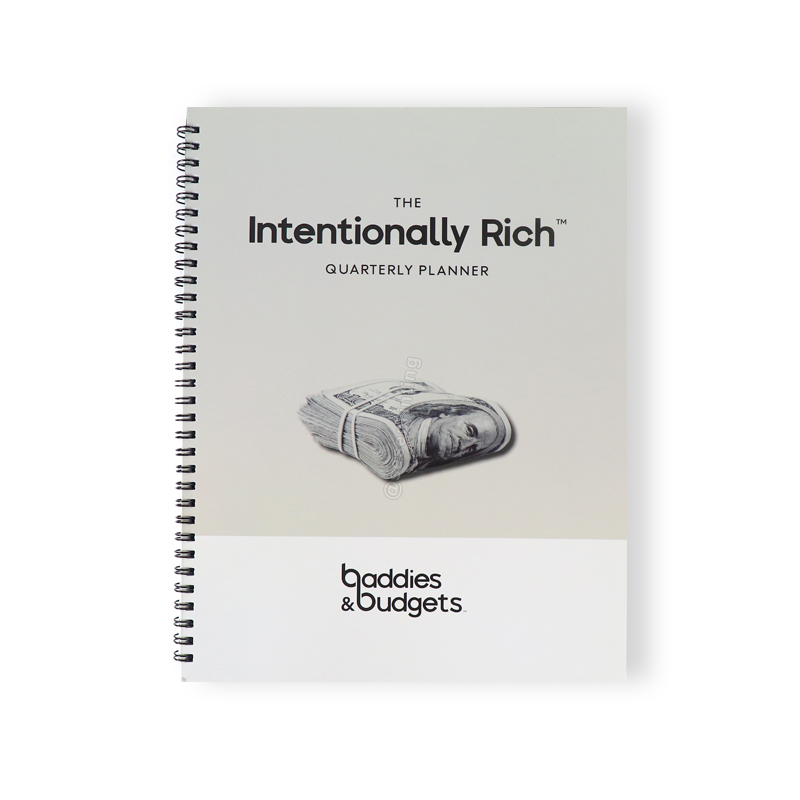
Custom Quarterly Planner Printing Soft Cover Spiral Budget Planner

Custom Quarterly Planner Printing Soft Cover Spiral Budget Planner

Name: Budget Planner
Material: Coated Cover
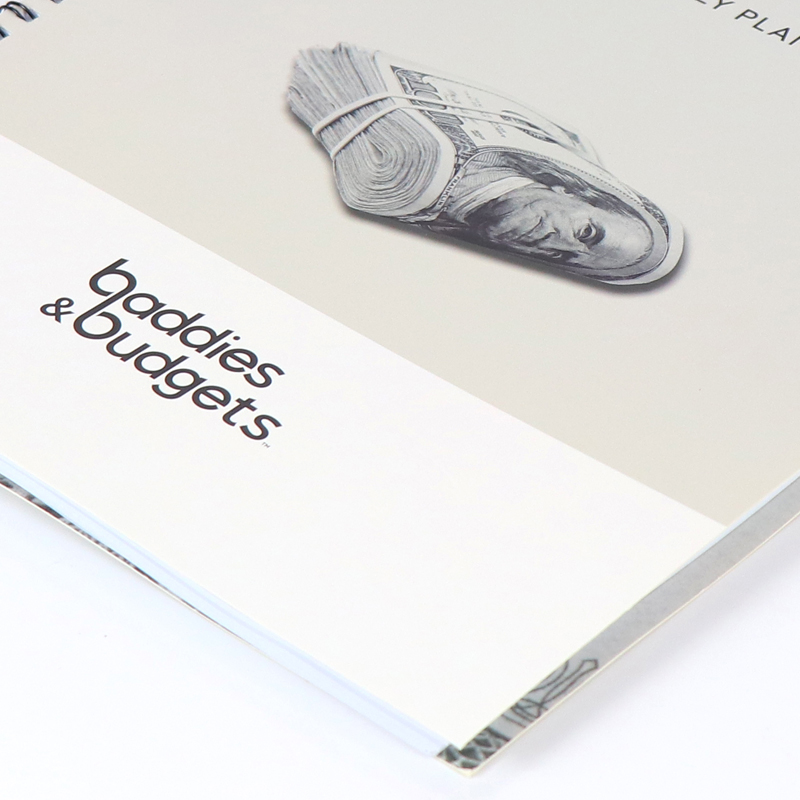
Finishing: Matte Lamination
Color: CMYK
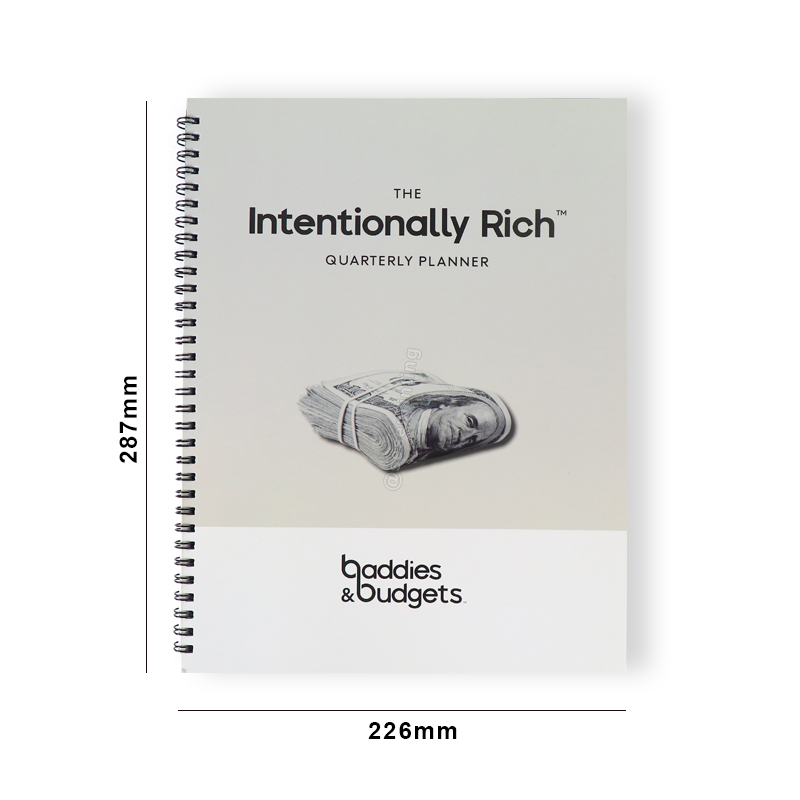
Size: A5
MOQ: 500 pcs
OEM service: Yes
Package: Bubble Bag + Strong Carton
Produt Details

Custom Quarterly Planner Printing Soft Cover Spiral Budget Planner

Product details

Planner Size

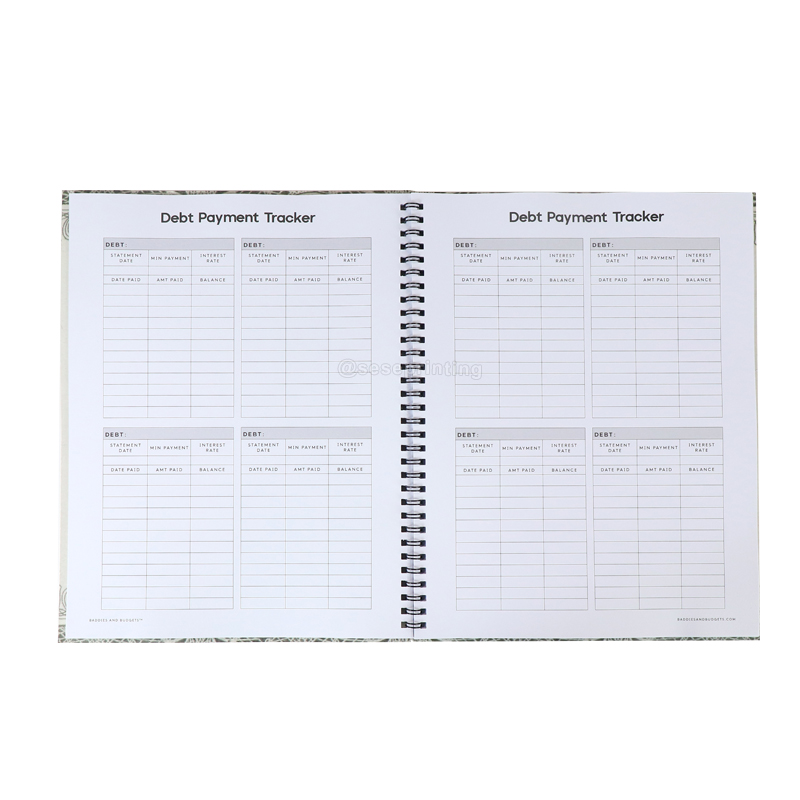
Custom Your Own Design Pages

Matte Lamination Cover

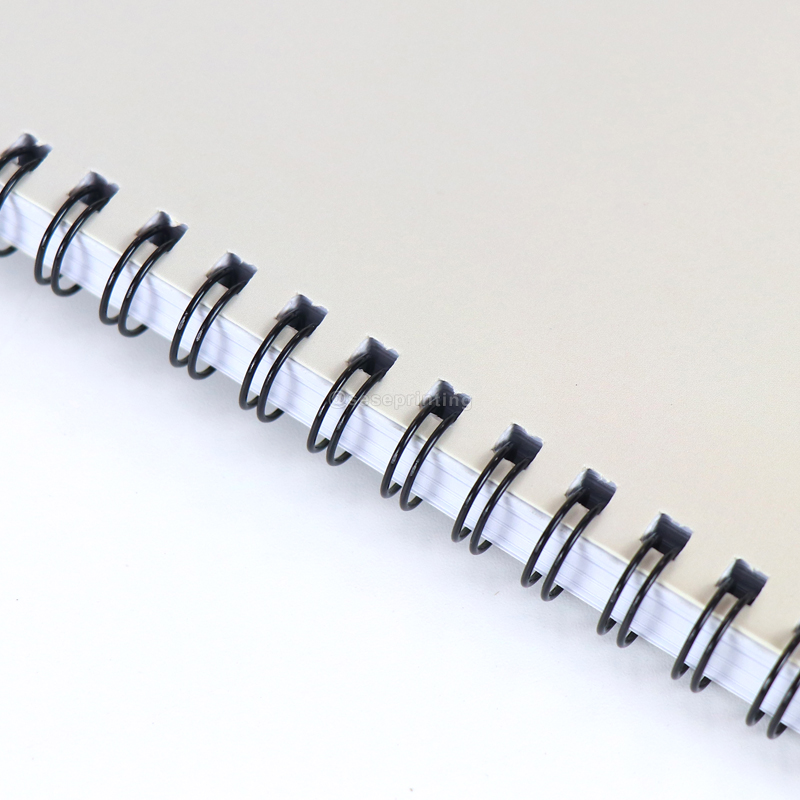
Coil Binding


Product Name  Budget Planner
Material Art Paper, Kraft Paper,Coated Paper, White or Grey Paper, Silver or Gold Card Paper, Special Paper Etc.
Binding Wire-O Binding, Spiral Binding, Hardcover Binding, Perfect Binding, Disc Bound Binding, Binder Binding and Others.
Certification ISO9001, SA8000, FSC
Design From Clients,OEM
Size A4, A5 or Custom
Printing CMYK or Pantone
Artwork Format AI, PDF, ID, PS, CDR
Finishing Gloss or Matt Lamination, Gold Foil Stamping, Emboss, Deboss and More

Printing a soft cover spiral budget planner involves several steps to ensure a functional and visually appealing final product. Here's a step-by-step guide:

Designing the Planner Pages: Work with a designer or use design software to create the layout and design for the planner pages. Consider the sections and features you want to include, such as monthly budget trackers, expense logs, savings goals, and other financial planning tools. Ensure that the design is clear, organized, and easy to use.

Choosing Paper Stock: Select a suitable paper stock for the interior pages of the planner. Consider options such as uncoated paper for easy writing or coated paper for a smoother finish. Choose a paper weight that is durable enough to withstand daily use but not too thick to make the planner bulky.

Prepress Preparation: Prepare the digital files for printing, ensuring that they meet the printer's specifications for resolution, color mode, and bleed. Make sure that the layout and design of the planner pages are correctly formatted for printing.

Proofing: Before proceeding with the full print run, request a proof of the planner pages to review the layout, colors, and text. Make any necessary adjustments or revisions before finalizing the design for printing.

Choosing a Printing Method: Select a printing method that suits your budget and printing needs. Options may include digital printing for smaller quantities or offset printing for larger runs. Consider whether you want additional finishes such as matte or gloss coating to enhance the appearance of the planner pages.

Printing: Once you've finalized the design and printing specifications, the printing process begins. The digital files are transferred onto the selected paper stock using the chosen printing method. Quality control measures are implemented throughout the printing process to ensure color accuracy and print clarity.

Spiral Binding: After printing, the planner pages are bound together using a spiral binding. This allows the planner to lay flat when open and makes it easy to flip between pages. Choose a spiral binding color that complements the design of the planner.

Quality Control: Inspect each printed planner for any defects or inconsistencies. Check the printing, binding, and overall appearance of the planner to ensure it meets your standards for quality and functionality.

Packaging and Distribution: Once quality control checks are complete, the printed planners are packaged securely for shipping or distribution. Consider custom packaging options such as shrink wrap or belly bands to protect the planners during transit and enhance their presentation.

Leave a Message
loading
Technical Support: Magic Lamp
Whatsapp
Send an Email