Home
HomeHow to Create a Coloring Book from Your Own Photos
 Aug 26,2025

 SESE
SESE
How to Create a Coloring Book from Your Own Photos?
Turn your cherished memories into a fun and creative activity! Creating a custom coloring book from your own photos is a rewarding project, perfect for personal use, unique gifts, or even a small business venture. This guide will walk you through the entire process, from selecting the perfect image to holding the finished book in your hands.
1. Introduction
Coloring books aren't just for kids anymore; they’re a popular way for people of all ages to relax and express creativity. What could be more personal than a coloring book filled with your own photos? Imagine transforming a picture of your pet, a favorite family portrait, or a stunning landscape from your travels into a beautiful outline ready to be colored. With modern tools and a bit of creativity, it's easier than you think. And when you're ready to bring your digital creations into the physical world, a professional partner like Sese Printing ensures your coloring book looks and feels fantastic.
2. Step 1: Choose the Right Photos
The foundation of a great coloring book is great source material. Not every photo will convert well into a coloring page. Here’s what to look for:
High Contrast: Photos with clear distinctions between the subject and the background work best. Think of a dark dog against a light floor or a bright flower against green leaves.
Clear Subjects: Choose photos with a well-defined, recognizable main subject. Portraits, animals, cars, buildings, and simple landscapes are excellent choices.
Simple Backgrounds: Avoid cluttered, busy backgrounds. They can create a messy and confusing outline. A clean, simple backdrop is ideal.
Good Lighting: Well-lit photos with minimal shadows will produce cleaner lines during the conversion process.
3. Step 2: Convert Photos into Coloring Pages
This is the magic step where your photo becomes a black-and-white outline.
Software & Apps: You can use various tools, from professional software like Adobe Photoshop to free apps and websites specifically designed for this purpose (like "Coloring Book" apps or online converters).
The Process: Typically, you will:
-
Convert to Grayscale: Remove all color from the image.
-
Adjust Contrast: dramatically increase the contrast to push the mid-tones to either pure white or pure black.
-
Apply a Posterize or Filter: Use filters like "Posterize" or "Stamp" to simplify the image into distinct areas.
-
Clean Up (Optional): Use software tools to manually erase unwanted background noise or thicken important lines for a cleaner look.
4. Step 3: Design Your Coloring Book Layout
Number of Pages: Decide how many pages your book will have. A standard length is 20-30 pages.
Page Order: Arrange your images in a pleasing sequence. You might tell a story or group similar themes together.
Add Extras: Consider adding a title page, a "This Book Belongs To" page, and even a sample colored page to inspire users. Ensure page numbers are consistent.
Formatting: Use design software (like Adobe InDesign, Canva, or even PowerPoint) to place one coloring image per page. Set your page size to your desired final trim size (a common size is 8.5" x 11").
5. Step 4: Choose Printing Options
The quality of your coloring book depends heavily on your printing choices. This is where partnering with a professional makes all the difference.
Paper Weight: Standard printer paper is too thin. You need thick paper that won't bleed through. Look for text weight or cover weight options. A 50-70 lb. text weight is a good standard for coloring books.
Paper Finish: A smooth, bright white paper is ideal as it makes your lines crisp and provides a brilliant background for colored pencils, markers, or crayons.
Size: Standard sizes like 8.5” x 11” are popular, but smaller or square formats can give a unique style.
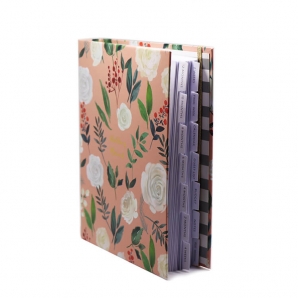
Binding:
|
|
|
|
|
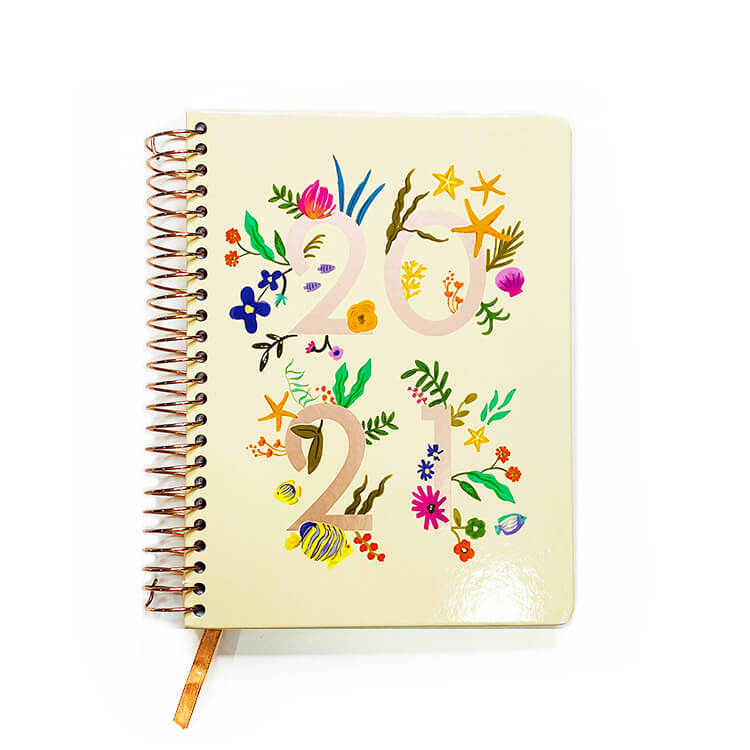
Spiral Binding |
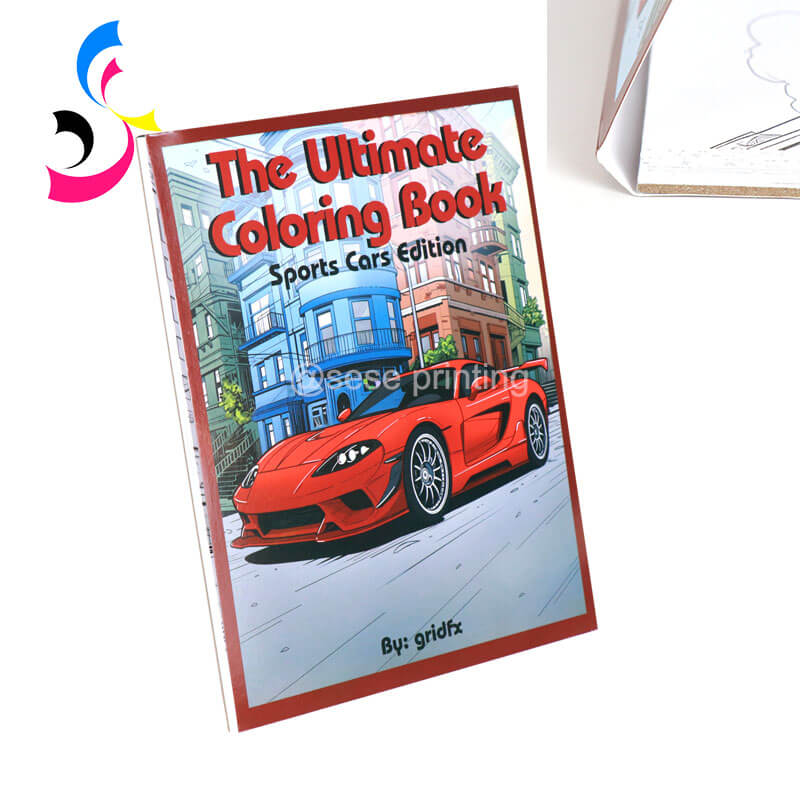
Perfect Binding |
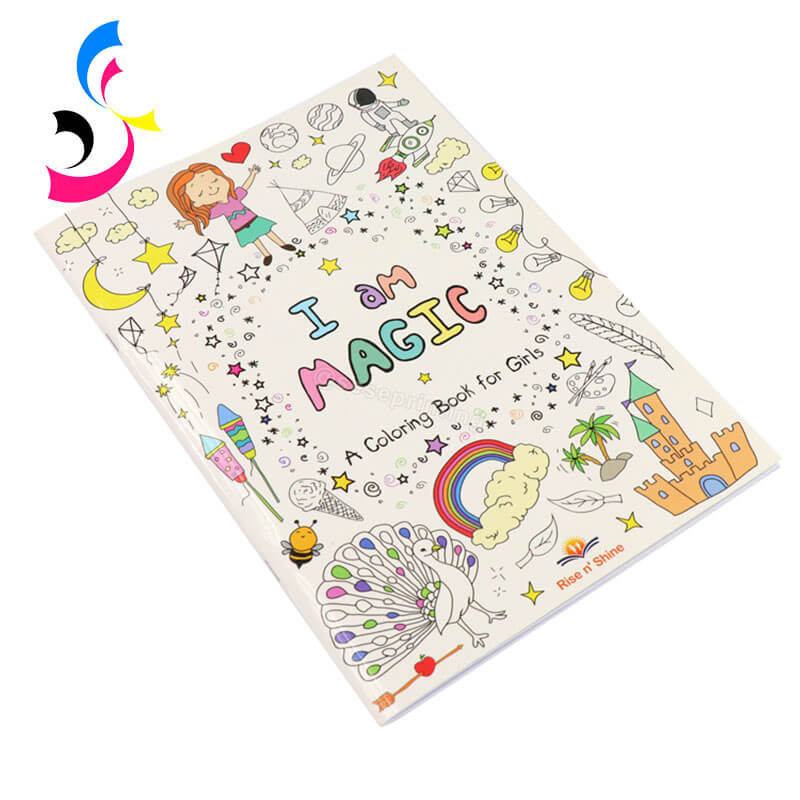
Saddle-Stitch Binding |
Glued on Top Binding |
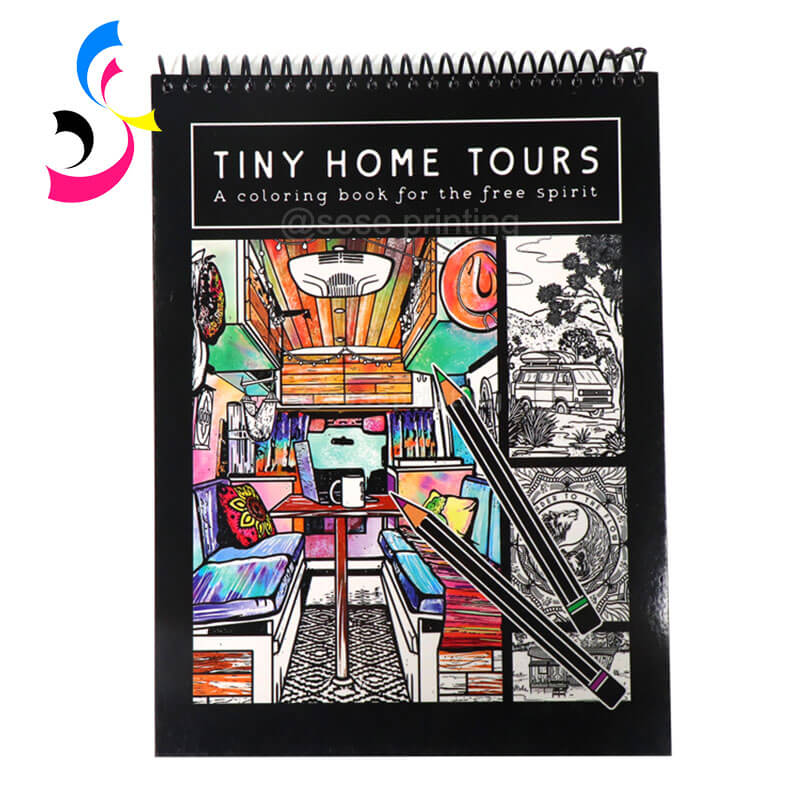
Spiral binding (coil binding) is highly recommended for coloring books because it allows the book to lie completely flat for easy coloring.
Perfect binding (like a paperback book) is also a popular and professional option.
Saddle-stitch binding is a classic and cost-effective option for coloring books, particularly for thinner volumes, as it involves stapling folded pages together along the spine.
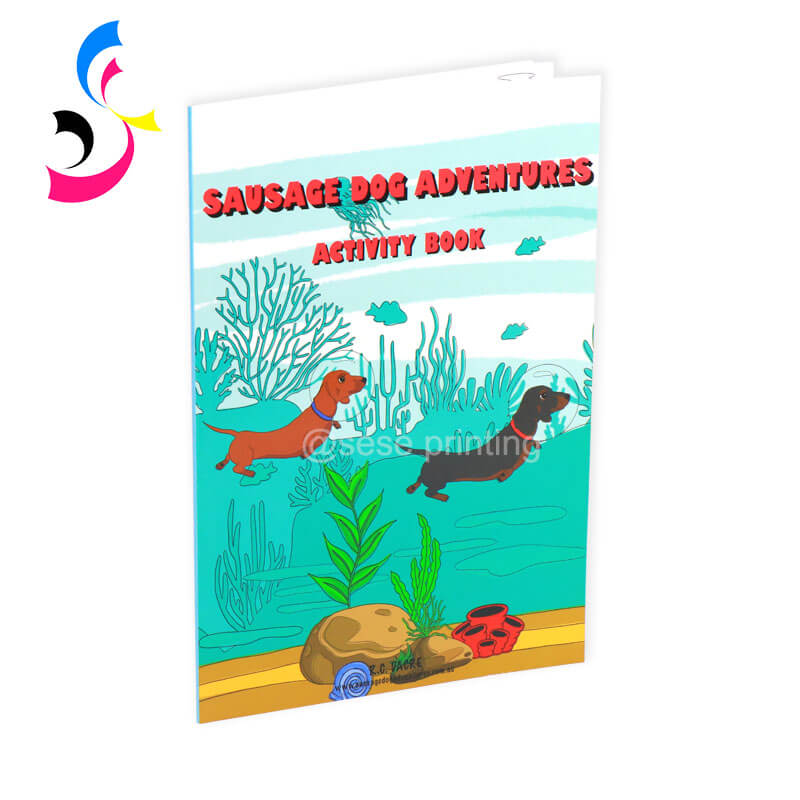
Glued on top binding is particularly suitable for individual coloring sheets or activity pads rather than traditional books, as it allows users to easily tear off each page for flat, unrestricted coloring on a single sheet.
6. Step 5: Order Custom Printing
For a truly professional product, avoid your home printer. Instead, use a reliable custom printing service.
This is the perfect moment to choose Sese Printing. We specialize in turning digital projects into high-quality physical products. Here’s why we are the ideal partner for your custom coloring book:
Premium Paper Options: We offer a variety of heavy-weight, bleed-resistant papers perfect for any coloring medium.
Professional Binding: Choose from durable spiral binding, sleek perfect binding, and more to give your book a polished finish.
Pre-Press Proofing: Our team helps ensure your files are perfectly formatted before printing, guaranteeing crisp, clear lines on every page.
Bulk Discounts: Whether you're printing one copy for a gift or a hundred to sell, we offer competitive pricing and scalable solutions.
Simply upload your print-ready PDF, select your paper, binding, and quantity, and let us handle the rest!
7. Step 6: Share or Sell Your Coloring Book
After printing, you can share your personalized coloring book with friends, family, or customers.
Personal Use: Enjoy it yourself! It’s a wonderful way to de-stress. They also make incredibly thoughtful and personal gifts for birthdays, holidays, or anniversaries.
Sell Online: If you’ve used original photos you own, you can sell your books on platforms like Etsy, Amazon KDP, or at local craft fairs.
Promotional Tool: Businesses can use custom coloring books as unique promotional items or branded gifts for clients.
Promoting your coloring book through social media, influencer collaborations, or giveaways can also help you reach a wider audience.
8. Conclusion
Creating a coloring book from your own photos is a creative journey that transforms personal memories or artistic visions into a tangible product. From selecting meaningful photos to designing, printing, and sharing, each step allows you to put your personal touch into a unique book. If you’re ready to make your idea a reality, SESE Printing offers professional custom book printing services with high-quality materials, flexible options, and expert guidance to bring your project to life. Whether for personal use, gifting, or commercial sales, your custom coloring book can be both beautiful and unforgettable.
Start your creative journey today and get ready to see your photos become a masterpiece twice over—first as a photograph, and then as a personalized work of art.
 Custom Book Covers: 5 Design Tips to Make Your Book Stand Out
 You May Also Like


 Tel
Tel
 Email
Email
 Address
702 No. 21 Huizhong Road, Shiqiao St, Panyu District. Guangzhou city, Guangdong Province. China

Joy
 Whatsapp