Home
HomeHow to Get a Personal Book Printed
 Sep 12,2025

 SESE
SESE
How to Get a Personal Book Printed: A Guide to Custom Book
1. Introduction
There’s nothing quite like holding your own book in your hands—the weight of your words, the feel of the pages, and the satisfaction of seeing your story become a tangible reality. Whether it’s a novel, a memoir for your family, a collection of poetry, a professional portfolio, or a cookbook of cherished recipes, a custom-printed book is a legacy piece. It is your story, physically manifested. This guide will walk you through the rewarding process of bringing your personal book to life.
2. What is Custom Printing / Print-On-Demand (POD)?
Custom printing, often synonymous with Print-On-Demand (POD), is a publishing model where books are printed one copy at a time, only after an order has been placed. This is a revolutionary shift from traditional offset printing, which requires large (and expensive) print runs.
Traditional Offset Printing: Best for large quantities (500+ copies). It involves creating physical plates and has high setup costs but a lower per-unit cost. Ideal for bulk orders where storage isn't an issue.
Print-On-Demand (POD): Perfect for small batches or single copies. There are no setup fees or inventory costs. You simply upload a digital file, and the company prints and binds a book each time someone orders one. This makes it incredibly accessible and cost-effective for personal projects.
It's important to note that while many companies specialize in POD, sese printing focuses on custom offset printing services for larger volume orders rather than print-on-demand. This distinction is crucial for authors to understand when selecting the right partner for their project, as the printing technology and business model directly impact cost, minimum order quantities, and production timelines.
3. Step-by-Step Guide to Getting Your Book Printed
Step 1: Prepare Your Manuscript
Before you can print your book, make sure your manuscript is thoroughly edited and formatted. Save it in a widely compatible format like PDF to preserve your layout. Check for consistency in fonts, spacing, and chapter headings.
Step 2: Design Your Book’s Interior & Cover
The interior layout affects readability. You can use tools like Adobe InDesign, Microsoft Word, or free software like Canva for layout design. Ensure margins are set correctly to avoid text being cut off during printing.
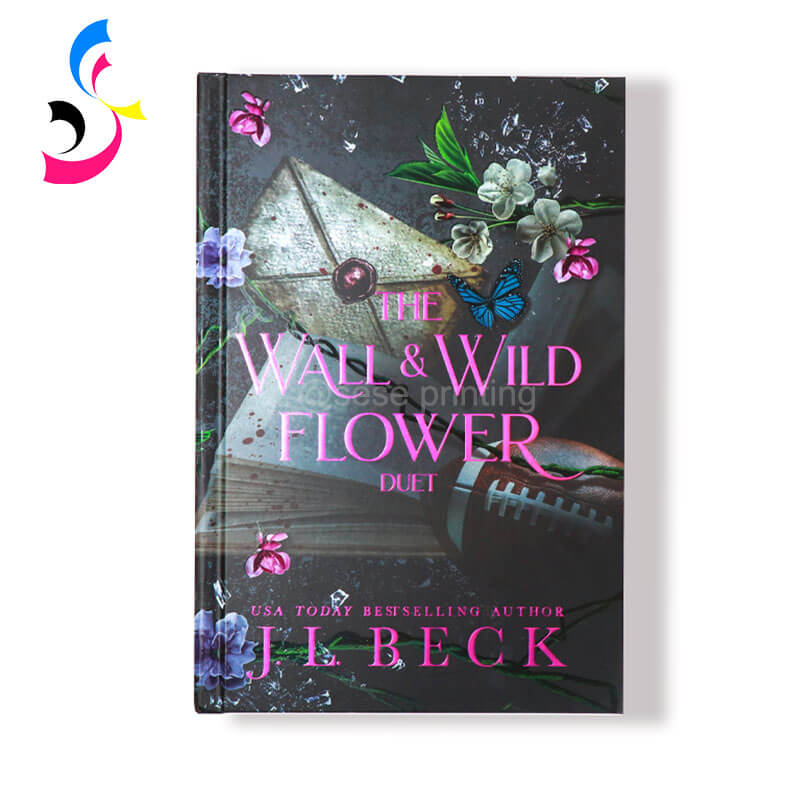
For the cover, design a front, spine, and back cover that reflect the content and tone of your book. High-resolution images (300 DPI or higher) are essential for a professional look.
Select Paper and Materials:
Choose paper type based on your book’s purpose:
-
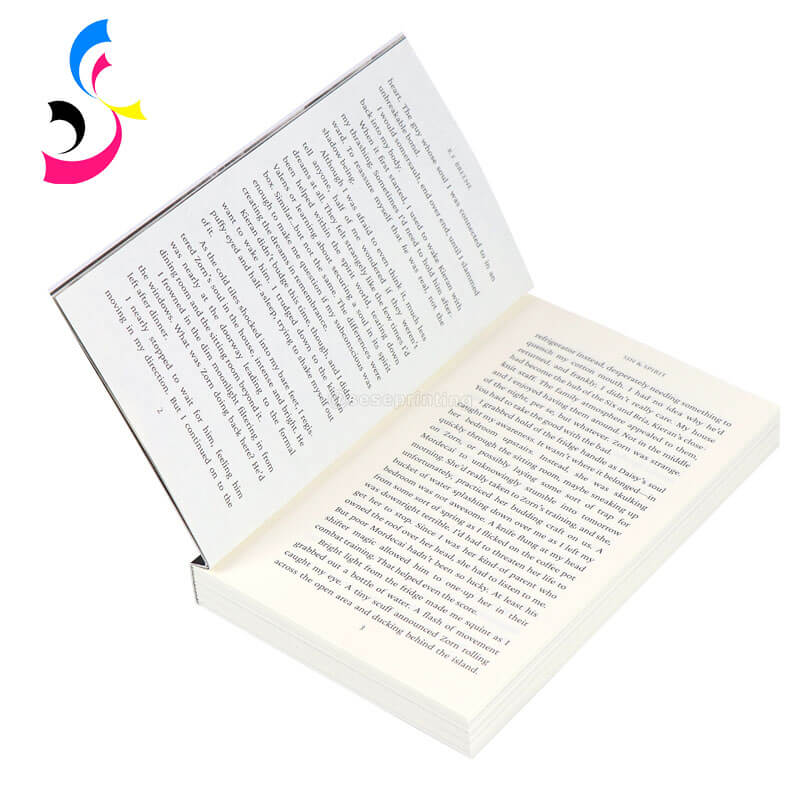
Uncoated paper (e.g., matte) is ideal for novels and text-heavy books—it’s easy to read and has a classic feel.
-
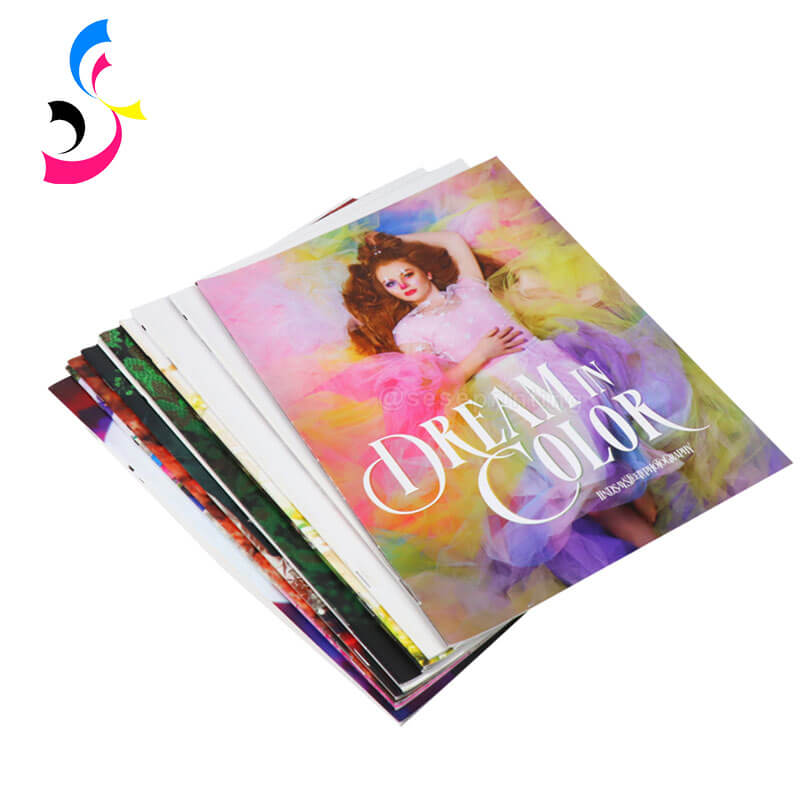
Coated paper (e.g., gloss) is better for art books, photography, or cookbooks where image quality is key.
-
Consider the paper weight as well—thicker paper feels more premium but adds to the cost and bulk.
Step 3: Decide on Binding Options
Binding affects both the appearance and durability of your book. Common options include:
|
|
|
|
Perfect Binding |
Saddle Stitching Binding |
Hardcover Binding |
-
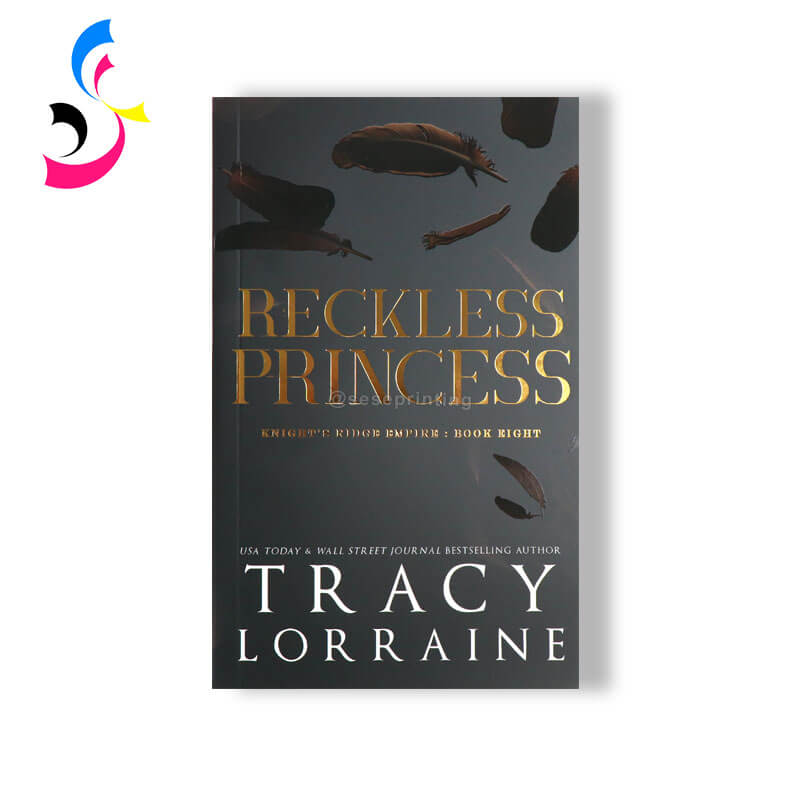
Perfect Binding: Common for paperback books; looks professional and is cost-effective.
-
Saddle Stitching: Ideal for booklets or magazines with fewer pages.
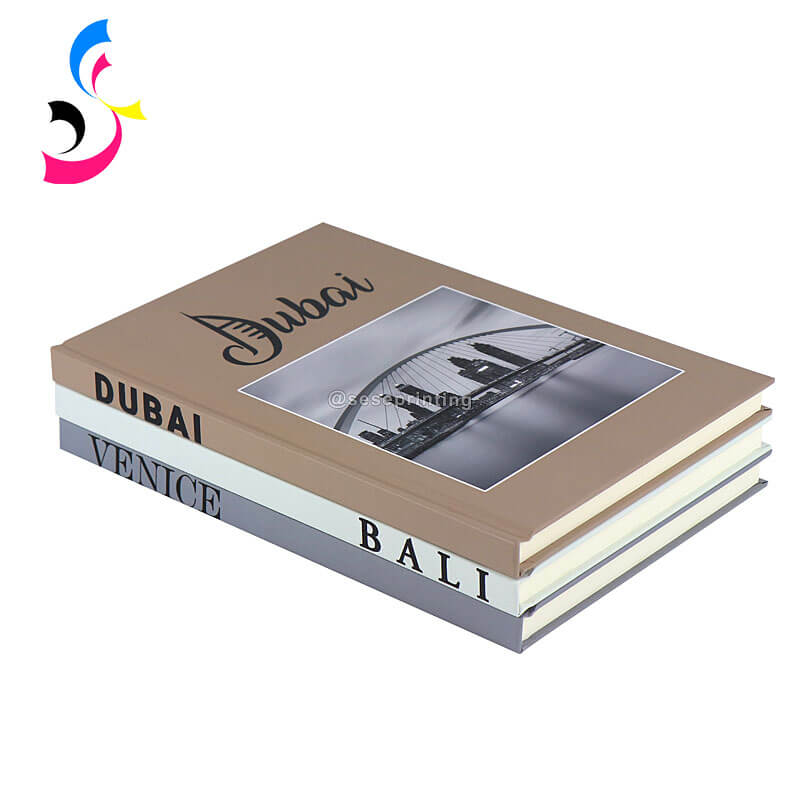
-
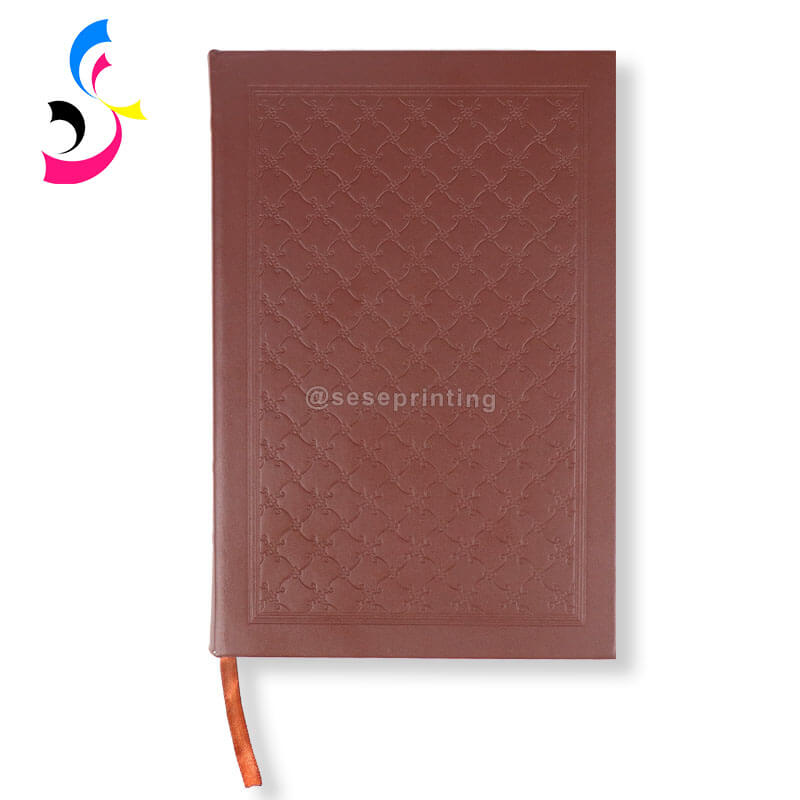
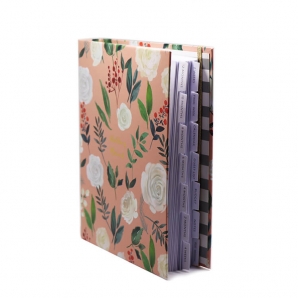
Hardcover Binding: The most durable and premium option, often used for special editions.
Step 4: Customize with Special Printing Techniques
|
|
|
|
|
|
Foil Stamping |
Embossing |
Debossing |
Spot UV |
Sprayed Edges |
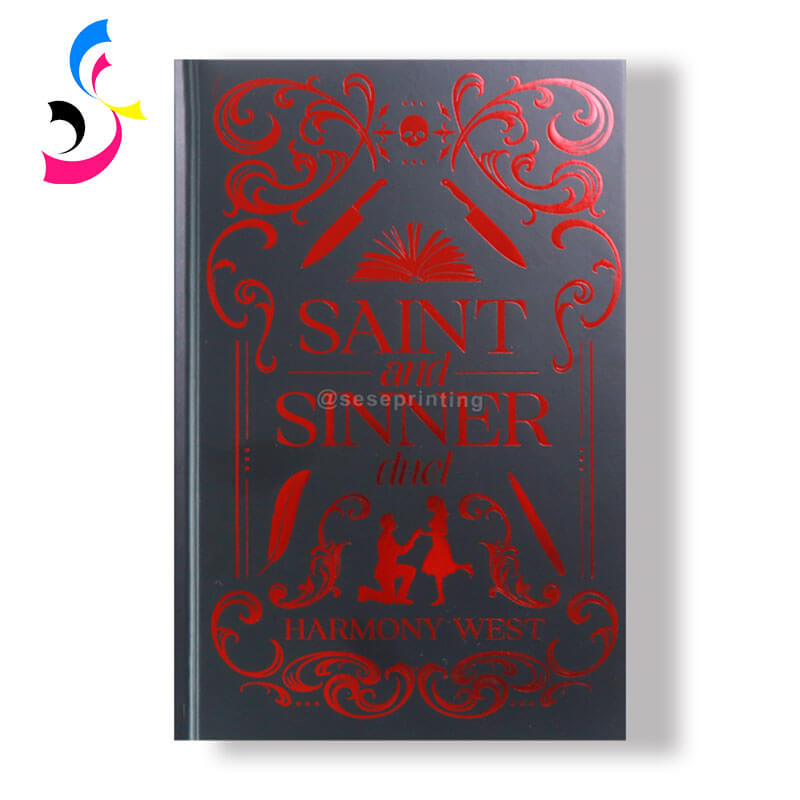

-
Foil Stamping: Adds a metallic, reflective finish to titles or designs.
-
Embossing/Debossing: Creates raised or depressed textures on the cover.
-
Spot UV: Adds a glossy, highlighted effect to specific areas.
-
Sprayed Edges: Decorative color or patterns on the sides of the book.
Step 5: Choose a Printing Service Provider
If you need high-quality, customized printing—especially with special finishes—Sese Printing is an excellent choice. We specialize in custom book printing with a wide range of paper, binding, and finishing options. While they do not offer Print-On-Demand services, they are ideal for small to medium print runs with a focus on quality and customization.
Step 6: Upload, Preview, and Order a Proof
Once you’ve chosen a provider, upload your manuscript and cover files. Use their online previewer to check how the book will look. Always order a physical proof to review print quality, color accuracy, and binding.
Step 7: Finalize and Place Your Order
After approving the proof, finalize your order quantity and confirm the details. Depending on the provider, turnaround times may vary, so plan accordingly.
4. Key Considerations for a Professional Result
Proofread Extensively: Errors are easier to fix digitally than in print.
-
Invest in Good Design: If you’re not confident in your design skills, consider hiring a professional formatter or cover designer.
-
Understand Costs: Custom printing, especially with special techniques, can be expensive. Get quotes from multiple providers if needed.
-
Check Compatibility: Ensure your files meet the printer’s specifications for resolution, bleed margins, and color mode (CMYK).
-
Paper Quality: Choose between matte, glossy, or specialty papers depending on the feel you want.
-
Typography: The right font size and spacing enhance readability.
-
Cover Strength: Ensure your cover design matches the tone of your book while remaining durable.
-
Distribution: Decide if you want your book to remain personal or made available through online platforms.
5. Conclusion
Seeing your own book in print is an incredible achievement. It’s the moment your words truly come to life—something you can hold, share, and treasure for years to come. By taking the time to refine your design and choosing a dedicated print partner like Sese Printing, you give your work the quality and presence it deserves. This is more than just a project—it’s your legacy, captured in pages. Now go bring it into the world.
 Is Shrink Wrapping Necessary for Printed Books
 You May Also Like


 Tel
Tel
 Email
Email
 Address
702 No. 21 Huizhong Road, Shiqiao St, Panyu District. Guangzhou city, Guangdong Province. China

Joy
 Whatsapp