Home
HomeHow to Make a Leather Hardcover Book
 Jun 27,2025

 SESE
SESE
How to Make a Hardcover Leather Book?
1. Why Choose a Leather Hardcover Book?
In an age of digital convenience, there's something timeless and irreplaceable about the feel of a beautifully bound book in your hands. A leather hardcover book combines luxury, durability, and personal expression, making it the ideal choice for collectors, authors, publishers, and gift-givers alike.
Whether you’re printing a limited edition novel, a personal journal, or a professional portfolio, leather hardcover books elevate your content to an heirloom-quality piece. The natural texture of genuine or faux leather exudes sophistication, while the hardcover structure protects the pages within for decades.
More than just aesthetics, leather-bound books also offer premium customization options—from embossed titles and foil stamping to custom spine designs and interior layouts. Each detail reflects craftsmanship and thought, turning your project into a treasured keepsake or a distinctive product on any bookshelf.
Choosing a leather hardcover isn’t just about printing a book—it’s about making a statement.
2. Step 1: Planning Your Custom Leather Hardcover Book
The first step in creating a custom leather hardcover book is thoughtful planning. Whether you're an author, a brand, or a creative professional, defining your book's purpose and audience will guide every design and production decision that follows.
Start by asking yourself:
-
What type of content will the book contain? (e.g., a novel, journal, photo album, or portfolio)
-
What is the desired size and orientation? (common sizes include 6"×9", 8.5"×11", or square formats)
-
How many copies will you need? (Short-run and bulk options may affect pricing and production choices)
Next, decide on the interior layout and page count. Are you printing full-color images, text-heavy chapters, or a combination of both? This will influence the type of paper, binding method, and printing technique used.
Finally, consider your budget and timeline. Premium features like foil stamping, sprayed edges, or ribbon bookmarks are worth the investment but may require longer lead times. Communicate your goals clearly with your print provider to ensure every detail aligns with your vision.
Planning sets the foundation for a high-quality, personalized leather hardcover book that reflects your story, brand, or artistic expression from cover to cover.
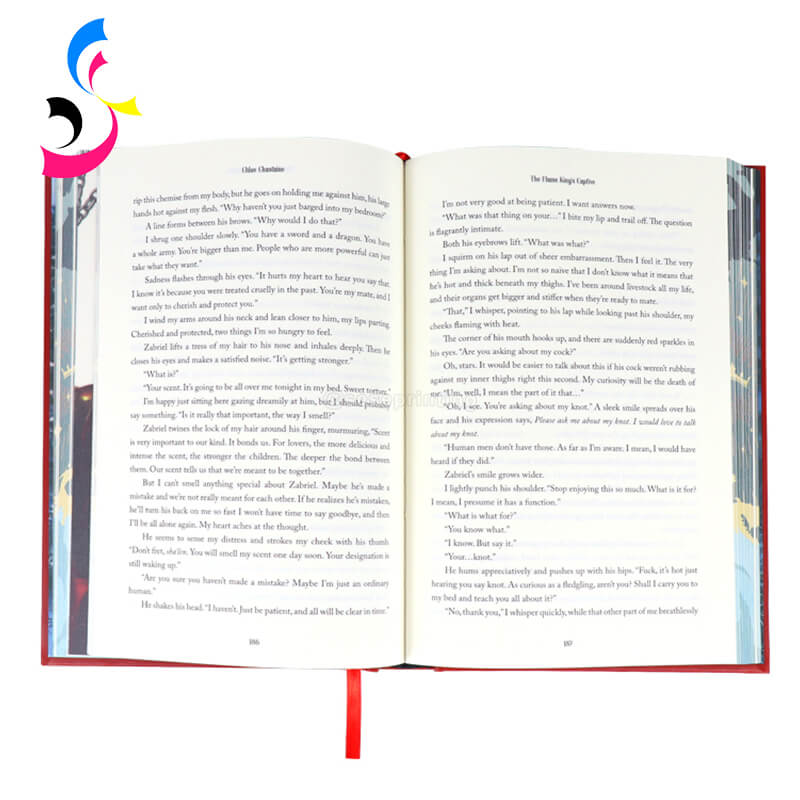
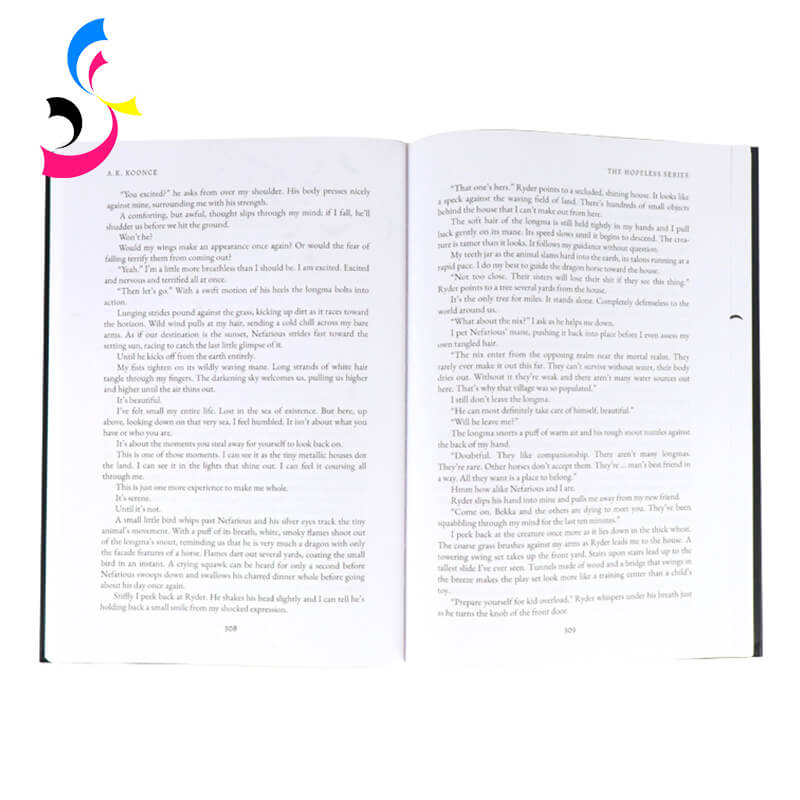
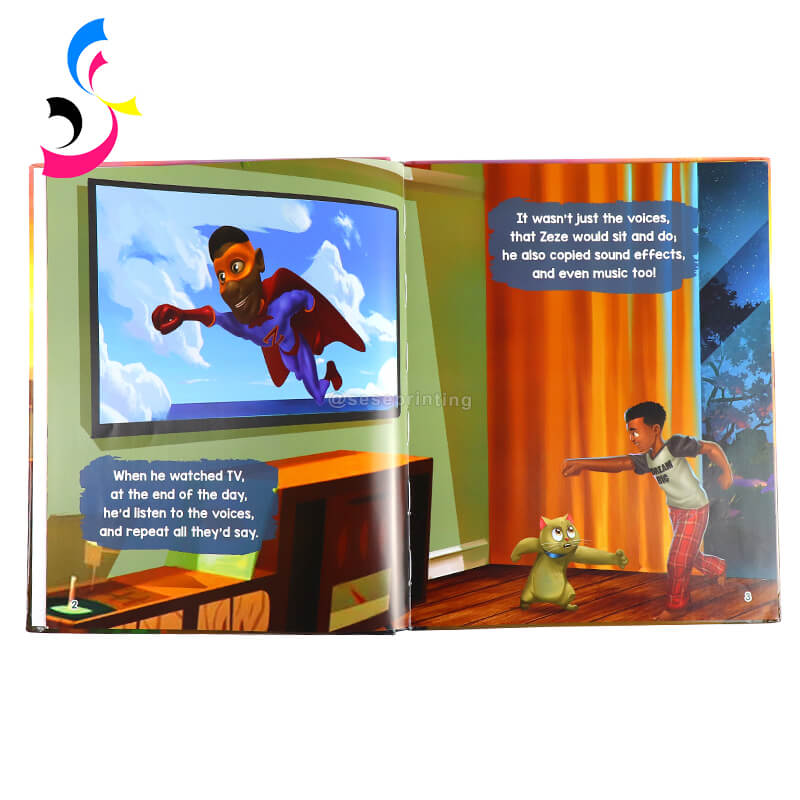
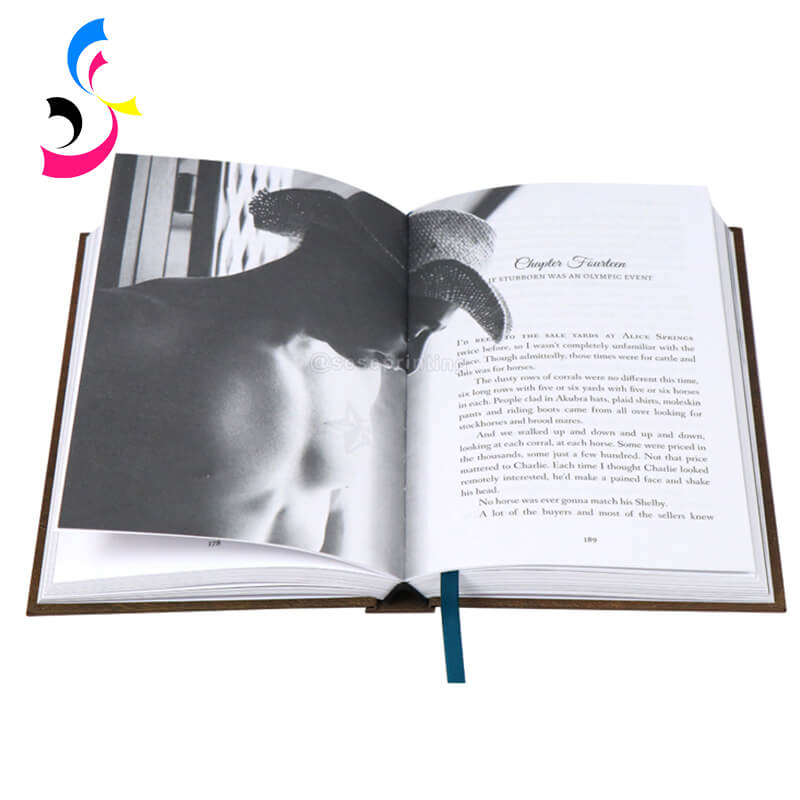
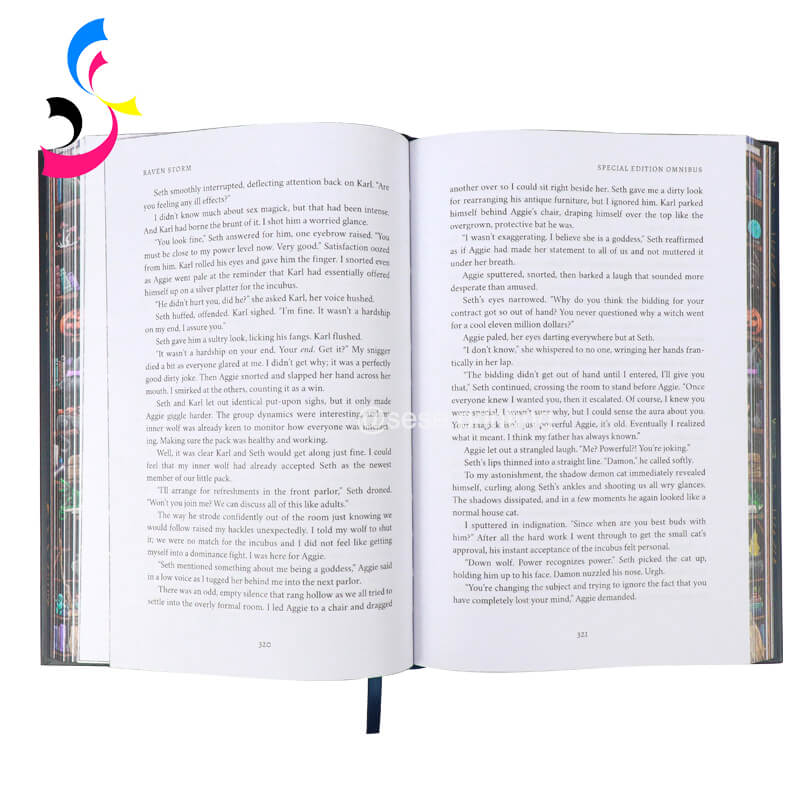
3. Step 2: Interior Printing Customization
Once your project is clearly planned, the next step is to customize the interior printing of your leather hardcover book. This is where your content comes to life—whether it's a compelling novel, a detailed photo portfolio, a guided journal, or a company showcase.
Key customization options include:
|
|
|
|
Uncoated Paper-Cream Paper |
Uncoated Paper-White Paper |
Coated Paper |
Paper Type & Finish: Choose from uncoated, matte, or gloss finishes based on your content.
For text-heavy books, smooth, opaque uncoated paper is ideal.
For photography or visual-heavy content, consider coated or satin paper for vibrant image reproduction.
|
|
|
Full Color Printing |
Black and White Printing |
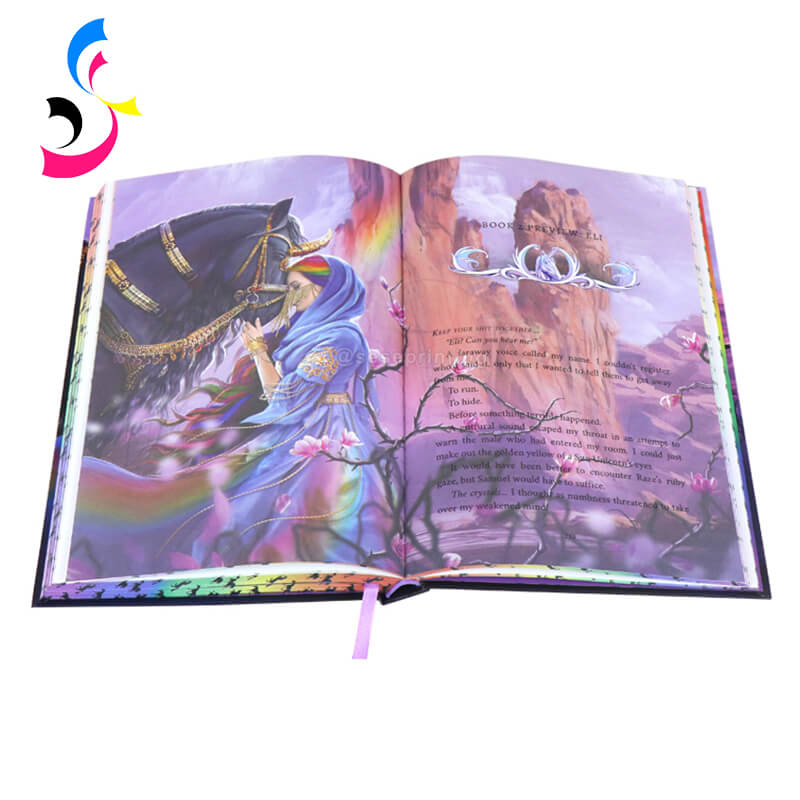
Color vs. Black & White Printing: Full-color interiors are best for visual content such as illustrations, charts, or art books. Black and white printing is more cost-effective for novels or minimalistic journals.
Typography & Layout Design: Customize fonts, spacing, and chapter formatting to reflect the tone and style of your book. Ensure a clean, professional layout that enhances readability and visual flow.
Custom Pages & Features: Add personalized title pages, dedications, or quote inserts. You can also include lined pages for journaling, blank pages for sketching, or printed guides in planners or workbooks.
Page Count & Binding Considerations: The thickness of your book may affect the binding type and cover design. Discuss these details with your printer to ensure compatibility.
Interior printing customization transforms your manuscript or content into a polished, professionally printed piece, perfectly tailored to your audience and purpose. This is your chance to make the inside of the book as impressive as its leather-clad exterior.
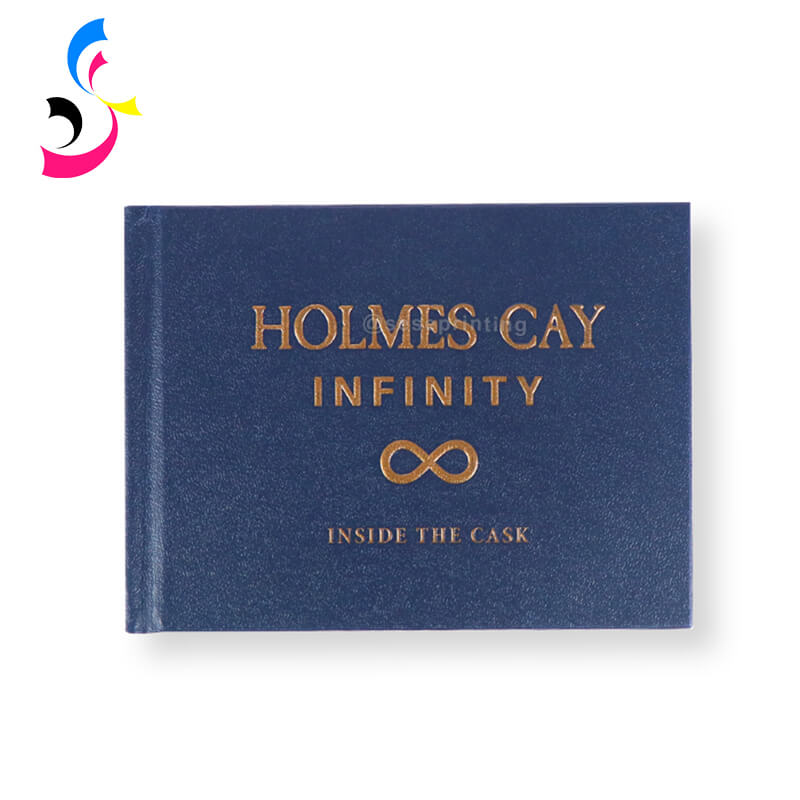
4. Step 3: Leather Cover Design Options
The leather cover is the first thing people see—and touch—when they pick up your book. It’s your chance to make a lasting impression with a look and feel that reflects your content’s tone, purpose, and value. Whether you prefer a classic aesthetic or something bold and modern, there are a variety of design options to create a cover that stands out.
Leather Type:
-
Genuine Leather – Offers natural grain, durability, and a luxurious feel.
-
PU Leather (Vegan) – A more affordable and eco-friendly option with a smooth, consistent finish.
-
Bonded Leather – A blend of leather fibers and synthetic materials, balancing cost and quality.
Color Selection:
Choose from traditional tones like black, brown, and burgundy, or go for contemporary shades such as navy, emerald, or custom-dyed colors to match your brand or theme.
Cover Text & Graphics:
|
|
|
|
Foil Stamping |
Debossing |
Embossing |
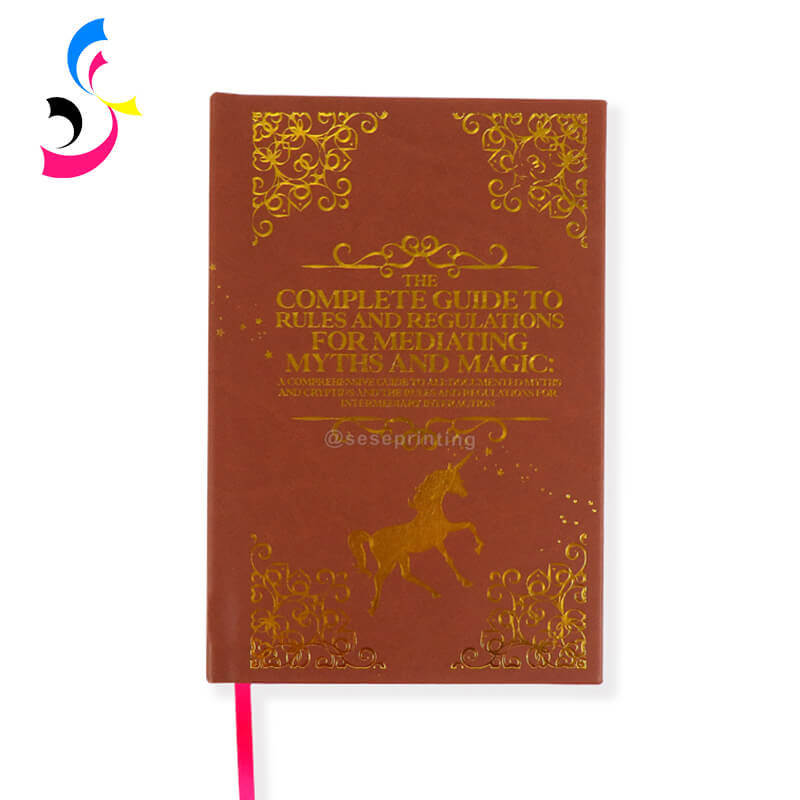

Add your title, author name, logo, or artwork with options such as:
-
Foil Stamping (in gold, silver, rose gold, etc.)
-
Debossing/Embossing for a tactile, 3D effect
-
UV Spot Gloss to highlight specific elements with a glossy finish
Spine Design:
Customize the spine with title text, icons, or decorative bands. Raised spine ribs can add a classic, vintage touch.
Additional Enhancements:
Consider integrating elements like metal corners, inset panels, or printed dust jackets for even more visual impact.
5. Step 4: Premium Add-Ons and Custom Features
To make your leather hardcover book truly unique, premium add-ons and custom features can add both functional value and visual distinction. These finishing touches not only enhance the overall aesthetic but also turn your book into a collectible, gift-worthy, or brand-elevating piece.
Here are some of the most popular enhancements:
|
|
|
|
|
|
Sprayed Edges |
Foil Edges |
Ribbon Bookmarkers |
Dust Jackets |
Slipcases |


Sprayed or Stained Page Edges:
Add color or patterns to the edges of your pages—options include solid colors, gradients, metallic finishes, or even custom printed designs.
Foil Edging:
For a luxurious effect, metallic foiling (gold, silver, rose gold) can be applied to the page edges, catching light and attention.
Ribbon Bookmarks:
Choose satin or grosgrain ribbons in your preferred color. These sewn-in bookmarks add elegance and practicality.
End Sheet Customization:
|
|
|
|
|
Illustration Endpapers |
Gold Paper Endpages |
Foiled Endpapers |
Colored Endpapers |
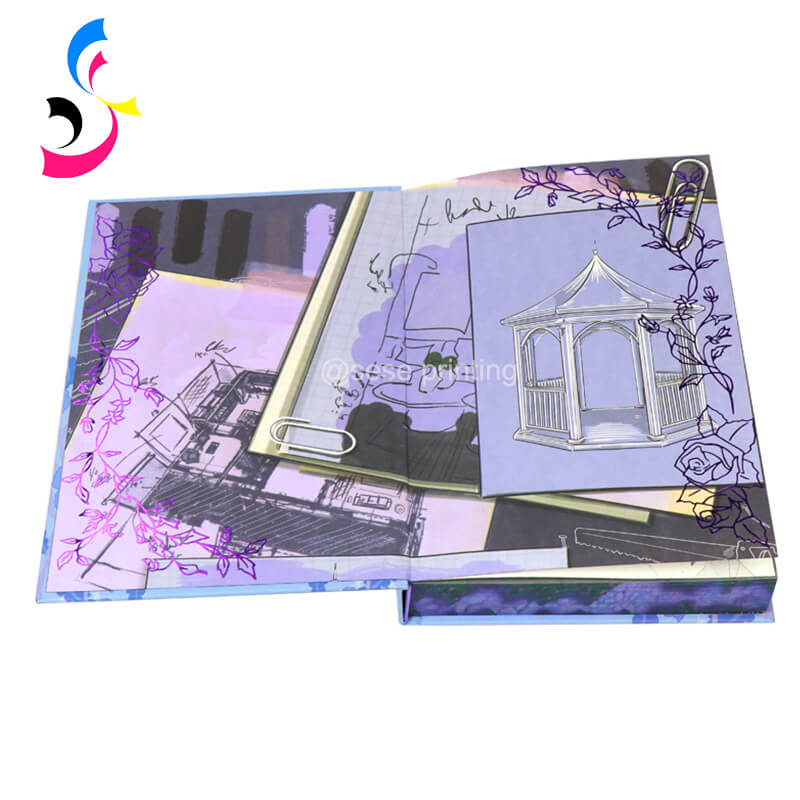
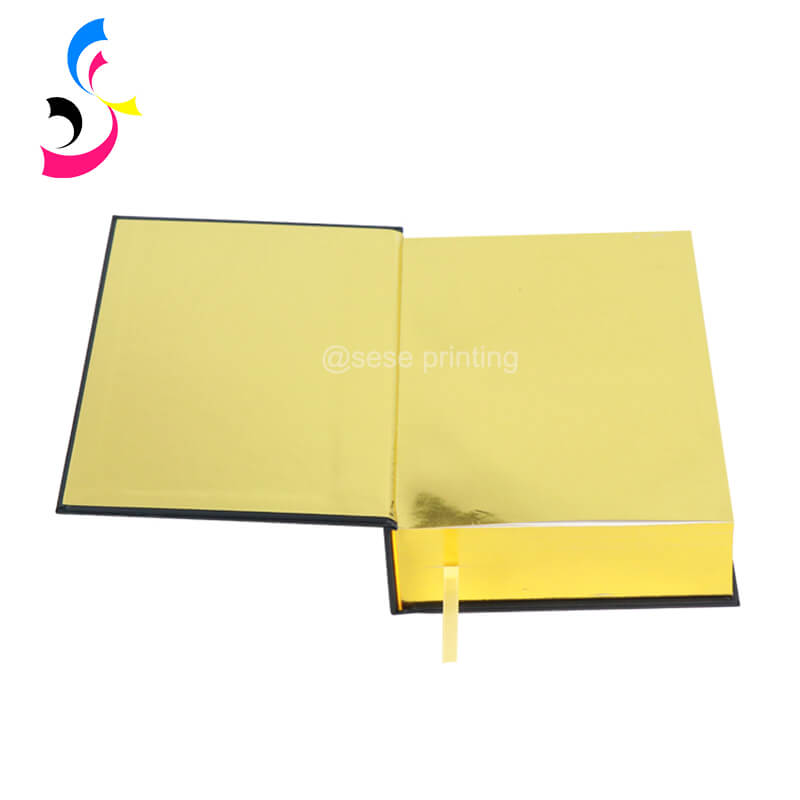


Upgrade from plain white to printed or colored endpapers with logos, patterns, illustrations, or messages.
Dust Jackets:
Add a printed dust jacket for additional branding or artistic storytelling. It protects the leather while offering space for blurbs, author bios, or promotional content.
Slipcases or Presentation Boxes:
Ideal for special editions or gifting, a custom box or slipcase adds protection and prestige.
Custom Inserts & Extras:
Include special pages such as dedication notes, signed inserts, photos, or QR codes linking to digital content.
Personalization Options:
Offer monogramming, names, or custom titles for individual copies—a great option for journals, planners, or corporate gifts.
These premium features give your leather hardcover book a standout presence and transform it into a lasting keepsake. Whether you're printing for a personal milestone, brand project, or retail edition, the right enhancements make all the difference.
6. Step 5: Binding and Production Process
The final step in creating your custom leather hardcover book is the binding and production process—where your vision comes to life in a durable, beautifully crafted form. This stage combines craftsmanship and precision to ensure the book not only looks exceptional but also stands the test of time.
Here’s what to expect during this step:
Binding Method Selection
For leather hardcover books, the most popular and professional option is:
Case Binding (Hardcover Binding): Pages are gathered into sections (signatures), sewn or glued together, and then encased in a hardboard cover wrapped with leather. It offers long-lasting strength and a classic look.
Other variations include:
-
Lay-Flat Binding: Ideal for photo books or planners, allowing the book to open completely flat without cracking the spine.
-
Smyth Sewn Binding: A premium option for longevity—pages are stitched through the fold and sewn to each other for maximum durability.
Cover Assembly
Once the leather material is selected and designed (with embossing, foil, etc.), it's carefully wrapped around rigid bookboard to create a strong, elegant outer shell. Decorative spine ribs or embellishments are applied at this stage if included.
Casing-In
The bound interior block (pages) is attached to the leather-wrapped cover using strong adhesives and reinforced endpapers. This step ensures the pages and cover are perfectly aligned and securely connected.
Quality Inspection & Finishing Touches
Each book is inspected for alignment, binding strength, and design precision. Finishing elements like ribbon bookmarks, sprayed edges, or dust jackets are applied before final packaging.
Packaging & Delivery
Books are safely wrapped, boxed, and prepared for shipping—whether for personal delivery, bulk orders, or retail distribution.
A professionally managed binding and production process ensures your leather hardcover book is not only visually impressive but also structurally sound—ready to be held, read, gifted, or displayed for years to come.
7. Step 6: Order and Fulfillment
After finalizing your design and production details, the last step is placing your order and managing fulfillment. This phase ensures your custom leather hardcover books are delivered on time, in perfect condition, and ready to meet your needs—whether for personal use, retail sales, or special events.
Here’s what to consider:
Placing Your Order:
Confirm all specifications, quantities, and delivery timelines with your printer or manufacturer. Double-check proofs and samples before approving full production to avoid costly mistakes.
Production Lead Time:
Custom leather hardcover books often require several weeks for production, especially with premium features like embossing, foil stamping, or hand-stitched bindings. Plan your schedule accordingly.
Packaging Options:
Choose packaging that protects your books during shipping and aligns with your brand presentation. Options include individual boxes, bulk cartons, or custom-branded packaging.
Shipping and Delivery:
Decide on shipping methods based on urgency and destination. Track shipments and communicate with your fulfillment partner to ensure smooth delivery.
Inventory and Distribution:
For larger orders, arrange warehousing and distribution if needed. Some printers offer fulfillment services to ship directly to customers or retailers.
After-Sales Support:
Work with your supplier for any post-delivery concerns such as replacements, reorders, or customer service support.
By carefully managing the order and fulfillment process, you can ensure your custom leather hardcover books arrive ready to impress, whether as cherished gifts, premium products, or professional presentations.
8. Conclusion
Creating a leather hardcover book with Sese Printing is more than just printing—it’s about crafting a premium masterpiece that leaves a lasting impression. With our expert planning, high-quality materials, and extensive customization options, we transform your vision into a timeless leather-bound edition that will be cherished for years to come. Choose Sese Printing for unmatched craftsmanship and exceptional service every step of the way.
 Matte vs Glossy Book Cover: Which Finish Is Best for Your Book?
 You May Also Like


 Tel
Tel
 Email
Email
 Address
702 No. 21 Huizhong Road, Shiqiao St, Panyu District. Guangzhou city, Guangdong Province. China

Joy
 Whatsapp