Home
HomeHow to Make My Own Coloring Book?
 May 30,2025

 SESE
SESE
How to Make My Own Coloring Book?
Creating your own coloring book is a fun and fulfilling project, whether for personal enjoyment, a unique gift, or a product to sell. With the right steps and professional printing support, you can bring your artistic vision to life. This guide will walk you through the process of making your own coloring book from start to finish.
Step 1: Create Your Coloring Book Design
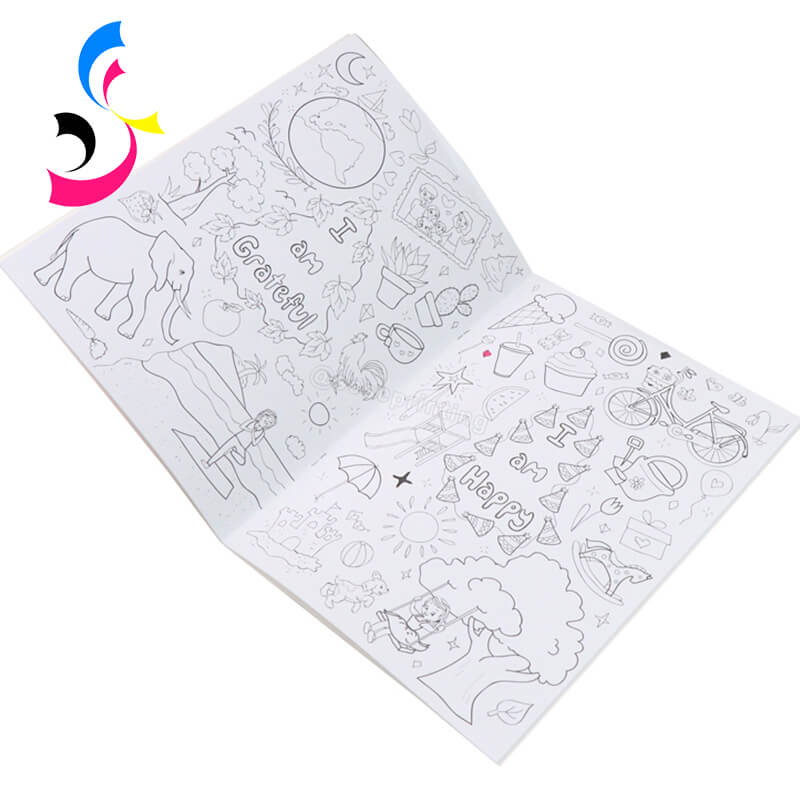
The first and most important step is creating the artwork for your coloring book. You can draw the illustrations by hand or digitally using design software like Adobe Illustrator, Procreate, or Photoshop. Keep your designs in black and white, using clean lines and clear outlines that are easy to color. Decide on a consistent theme for your book—such as animals, mandalas, inspirational quotes, or seasonal designs—to give it cohesion.
Tip: Save your artwork in high-resolution (300 DPI) and vector or PDF format for the best print quality.
Step 2: Choose the Coloring Book Format and Binding
Now that your coloring book designs are ready, it’s time to decide how the final product will look and function. Your choices here will affect durability, usability, cost, and audience appeal.
Select the Book Format
Page Size Options
8.5" x 11" (US Letter) – Most common, especially for kids.
8" x 8" or 6" x 6" – Square sizes, great for toddlers or pocket-size adult books.
A4 or A5 – Standard international sizes; A5 is more compact and travel-friendly.
Page Count
Typically 24 to 100 pages.
Keep it even-numbered for print requirements.
Single vs. Double-Sided Pages
Single-Sided: Best for markers; prevents bleed-through.
Double-Sided: More cost-effective, ideal for crayons or colored pencils.
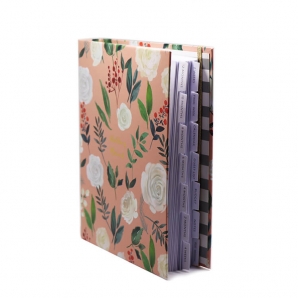
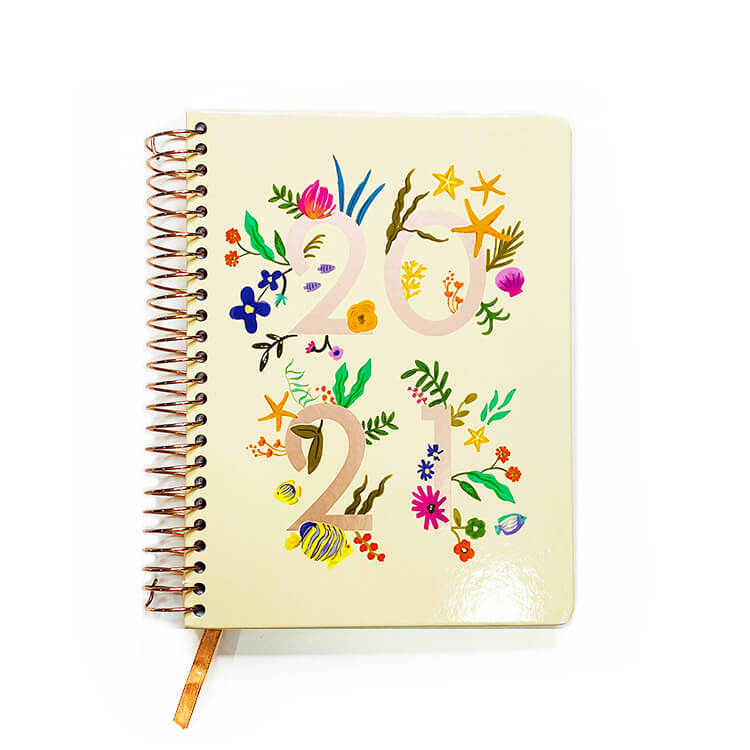
Choose the Binding Style
|
|
|
|
|
Spiral Binding |
Perfect Binding |
Saddle Stitching |
Hardcover Binding |
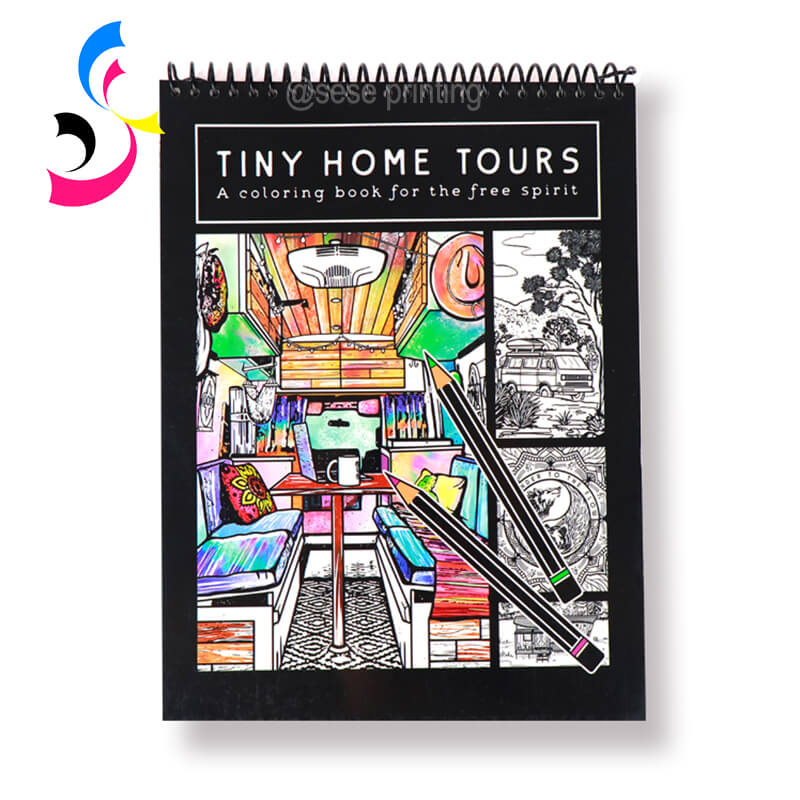
Spiral Binding (Wire-O or Plastic Coil)
Pros: Lays flat, easy to flip, user-friendly.
Best for: Kids, artists, adult coloring books.
Note: Slightly higher cost, but preferred for usability.
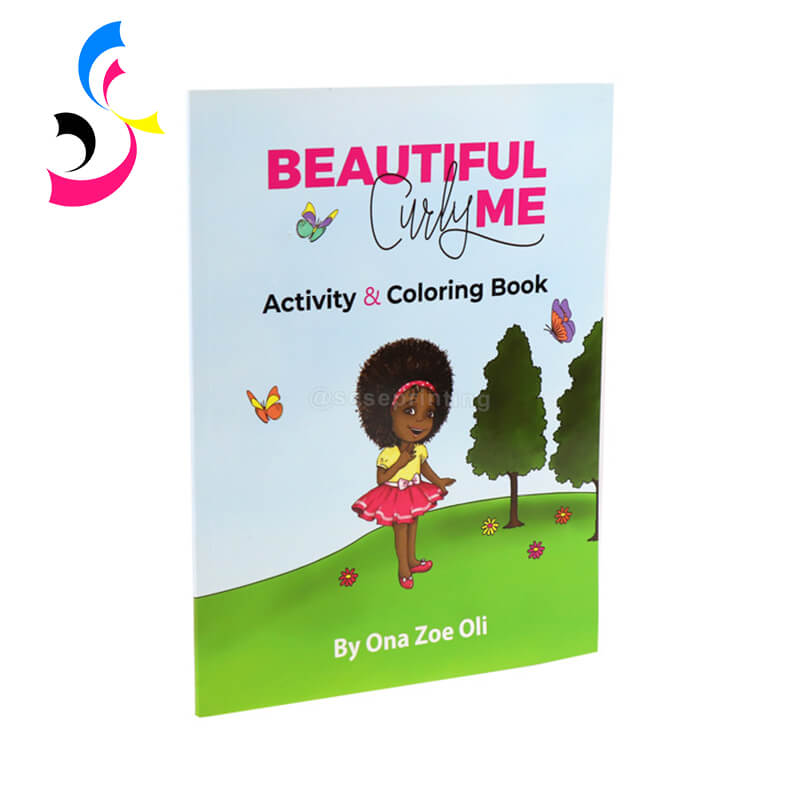
Perfect Binding (Softcover/Paperback)
Pros: Clean, professional look.
Cons: Doesn’t lay flat; harder to color near the spine.
Best for: Budget-friendly books, retail-ready designs.
Saddle Stitching (Stapled Spine)
Pros: Affordable, great for small page counts (8–48 pages).
Cons: Not ideal for thicker books.
Best for: Short kids’ coloring books, promotional books.
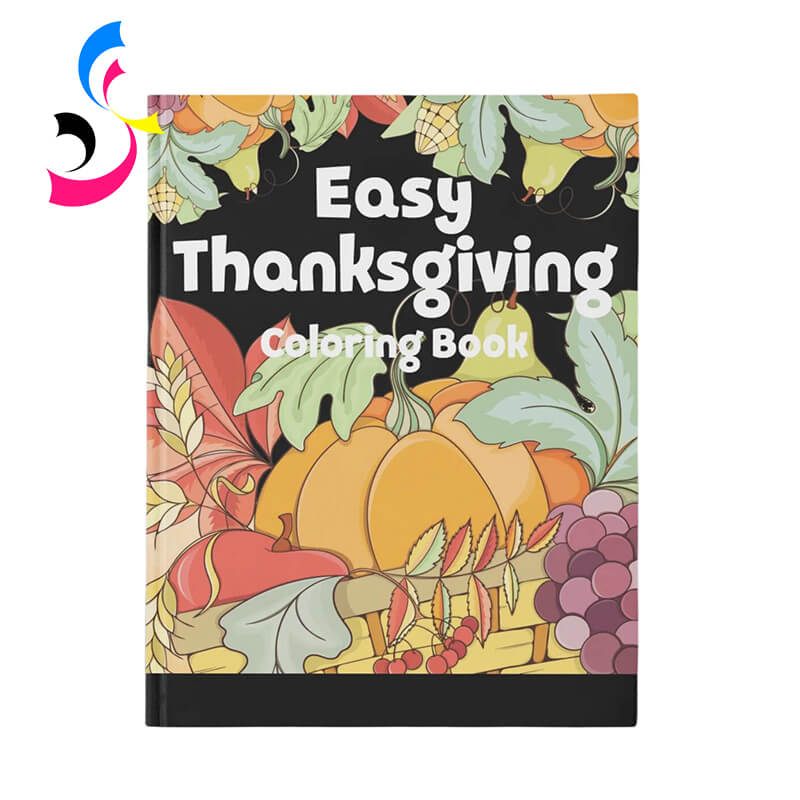
Hardcover Binding
Pros: Premium look, durable.
Cons: Expensive, heavier.
Best for: Gift editions, collectors, special releases.
Step 3: Select Paper Types
Choosing the right paper for your coloring book is essential for user experience and print quality. The paper must complement the coloring tools your audience will use—whether crayons, markers, or colored pencils.
Consider the Paper Finish
Uncoated Paper (Most Recommended)
Texture: Slightly rough surface, easy to grip coloring materials.
Ideal For: Crayons, colored pencils, gel pens.
Pros: No glare, easy to color on.
Cons: May not handle heavy ink or markers well.
Coated Paper (Glossy/Silk/Matte)
Texture: Smooth surface, sometimes slippery.
Ideal For: Professional art books, not recommended for coloring.
Pros: Sharp image quality if you include full-color pages (e.g., covers or intro pages).
Cons: Not ideal for most coloring tools.
Choose the Right Paper Weight
Paper weight affects thickness, durability, and ink absorption:
| GSM | Approx. US Equivalent | Best For | Notes |
|---|---|---|---|
90–100 gsm |
60–70 lb text |
Light coloring with pencils/crayons |
Budget-friendly |
120–150 gsm |
80–100 lb text |
Most popular for coloring books |
Handles colored pencils and light markers well |
170–200 gsm |
65–80 lb cover |
Premium, bleed-resistant |
Ideal for markers and gel pens |
Tip: For marker use, go with 170gsm+ single-sided pages.
Paper Color Options
Bright White: Clean, modern look; colors pop.
Natural White / Cream: Softer on the eyes; gives a vintage or artistic feel.
Special Paper Features (Optional)
Perforated Pages: Easy to tear out and display.
Black-backed Pages: Prevents bleed-through and makes colors stand out.
Step 4: Customize the Cover
Your coloring book cover is the first thing people see, so make it eye-catching and relevant to your theme.
Front Cover
Title: Use a clear, bold font that fits your theme (e.g., playful for kids, elegant for adults).
Artwork: Include a sample coloring image or a themed illustration to attract attention.
Color Scheme: Choose colors that reflect the book’s mood—bright and fun for kids, calm and earthy for adults.
Optional: Add a subtitle or tagline (e.g., “Relax & Unwind with 30 Beautiful Mandalas”).
Back Cover
Short Description: Summarize what the book offers in 1–2 sentences.
Features: Mention page count, paper type, suitable coloring tools, or bonus content.
Branding: Add your logo, website, or social media handles if applicable.
Barcode/ISBN: Include if you plan to sell online or in stores.
Cover Specs
Design at 300 DPI resolution.
Include bleed (typically 0.125” / 3 mm) on all sides.
Save in PDF or high-res JPEG/PNG format for printing.
Step 5: Prepare and Submit Your Files
Once your coloring book is designed and the cover is ready, it’s time to prepare everything for printing. This step ensures your files meet professional standards and print correctly.
Organize Your Files
Interior Pages: Combine all pages in one PDF file, in the correct order.
Cover: Submit as a separate file if required by the printer (front, spine, and back as one spread).
Check Print Specifications
Resolution: All images should be at 300 DPI for sharp printing.
Bleed: Include 0.125” (3mm) bleed on all sides.
Margins: Keep important content 0.25” (6mm) from the edge.
Color Mode: Use CMYK for print (not RGB).
Convert Fonts to Outlines
If you used custom fonts, convert them to outlines or embed them to avoid font issues during printing.
Export Your Final Files
Export as Print-Ready PDF.
Double-check:
-
Page count is even
-
Correct file dimensions
-
Bleed and trim lines included
Submit to Your Printer
Upload files via the printer’s file submission system (email, upload link, or FTP).
Include a brief note with:
Paper type
Binding style
Print quantity
Special instructions (e.g., single-sided pages, perforation)
Step 6: Request a Printing Quote
Before printing, it’s a good idea to request a quote based on your specifications:
Book size and page count
Paper and cover type
Binding method
Quantity
Special finishes (if any)
This helps you compare costs and adjust your order to fit your budget.
Why Choose Us for Custom Coloring Book Printing?
At Sese Printing, we specialize in high-quality custom coloring book printing with full support every step of the way. Here’s why creators love working with us:
-
Wide range of paper and binding options
-
Vivid, detailed black-and-white print quality
-
Custom finishes like foil, lamination, and die-cuts
-
Fast turnaround and worldwide shipping
Whether you're creating a fun activity book for kids or a detailed adult coloring collection, we’ll help you make a professional product you’ll be proud of.
Conclusion
Making your own coloring book is easier than ever with a clear plan and a trusted printing partner. From artwork to production, every detail matters in creating a book that’s both beautiful and functional. Follow the steps above, and let Sese Printing bring your creative project to life with high-quality, custom coloring book printing.
 Create Your Own Board Game: Custom Design and Printing Guide
 You May Also Like


 Tel
Tel
 Email
Email
 Address
702 No. 21 Huizhong Road, Shiqiao St, Panyu District. Guangzhou city, Guangdong Province. China

Joy
 Whatsapp