Home
HomeHow to Make Your Own Book Dust Jacket
 Jul 18,2025

 SESE
SESE
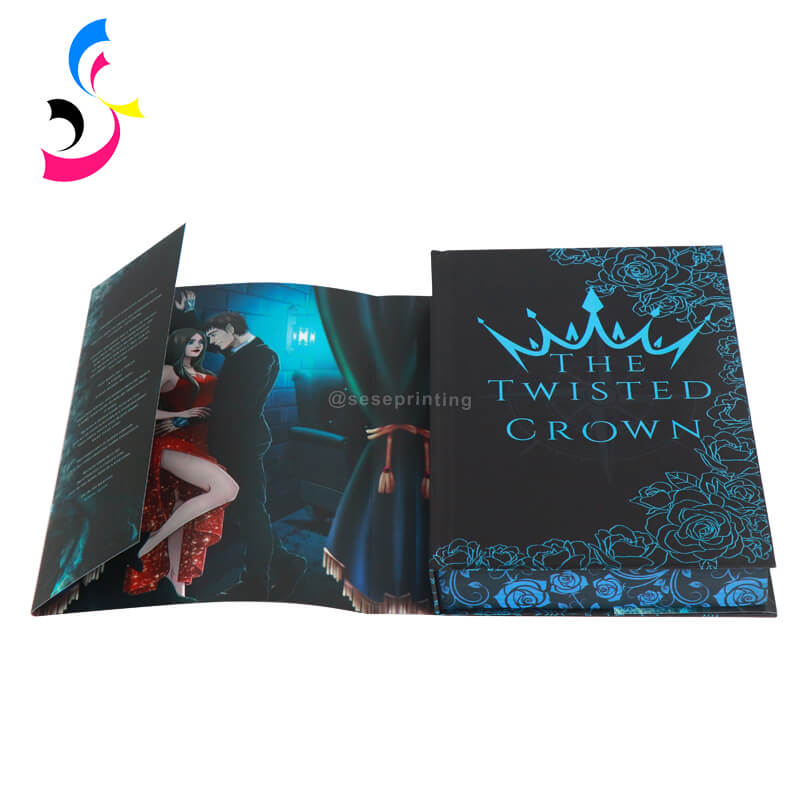
How to Make Your Own Book Dust Jacket: A Step-by-Step Guide
A dust jacket isn't just protection; it's a book's first impression, its billboard, and a canvas for artistic expression. While professionally published books come with them, creating your own custom dust jacket offers a unique opportunity for personalization, rebranding a well-loved classic, or adding a professional touch to your self-published masterpiece. This guide walks you through the process.
1. Introduction
Dust jackets shield books from wear, light, and spills, but their true power lies in their design. A compelling jacket grabs attention, hints at the story within, and elevates the book's perceived value. Making your own allows you to infuse personality, commemorate a special edition, or create a unified look for a series. Whether you're a hobbyist, an author, or giving a thoughtful gift, a custom dust jacket is a rewarding project.
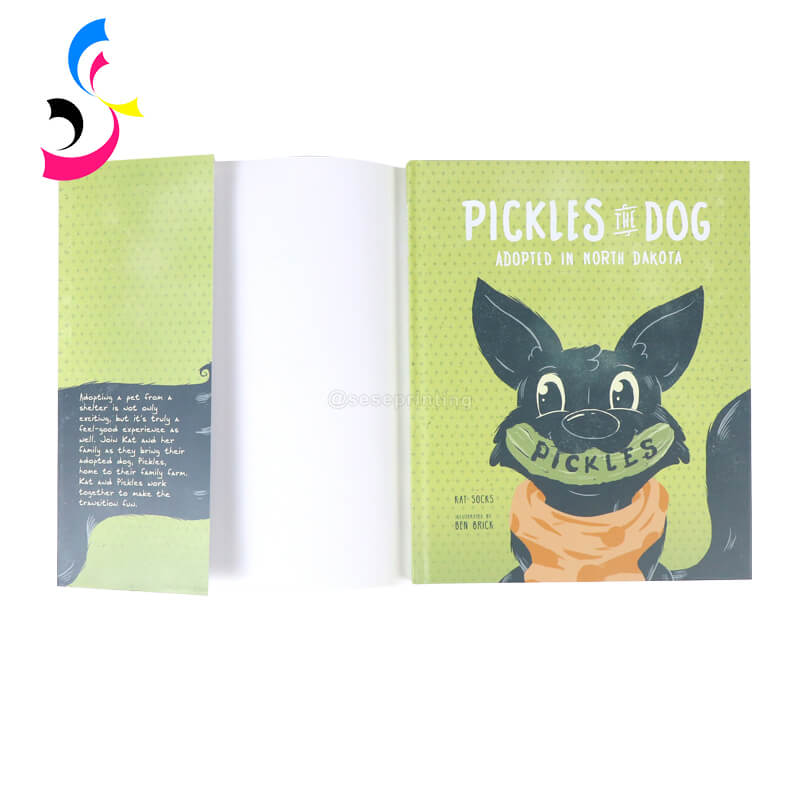
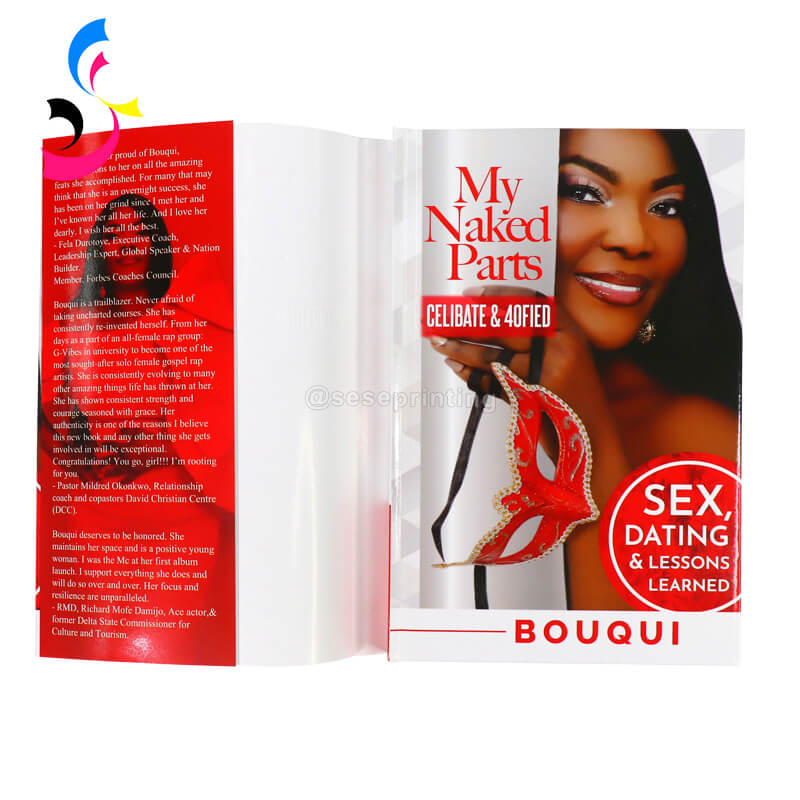
2. Choose the Right Book for a Dust Jacket
Not every book needs a jacket, but some are perfect candidates:
-
Cherished Classics: Give a worn hardcover favorite a stunning makeover.
-
Special Editions: Create unique jackets for signed copies, first editions, or anniversary releases.
-
Self-Published Works: Add immense professional polish to your own hardcover books.
-
Branding Projects: Re-jacket books to match a specific aesthetic for a photo shoot or decor.
-
Meaningful Gifts: Personalize a book jacket for a deeply thoughtful present. Consider the book's size, value (sentimental or monetary), and whether its existing jacket is damaged or non-existent.
3. Plan Your Dust Jacket Design
Purpose: Is it personal, promotional, or a gift?
Audience: Who will see it? Tailor the design accordingly.
Tone & Theme: Should it be bold and modern, classic and elegant, whimsical, or mysterious? Reflect the book's content.
Key Elements: What must be included? Title, author, and blurb are standard. Consider imagery, quotes, author bio, publisher logo, barcode (for sales), or series information.
Style Inspiration: Look at jackets in your genre, browse design sites (like Behance or Dribbble), or gather visual references (colors, textures, art styles).
4. Select Materials and Finishes
Paper Stock: Choose a sturdy paper (typically 100lb text or cover weight). Consider uncoated (matte, tactile), matte coated (smooth, vibrant colors resist fingerprints), or gloss coated (high shine, vibrant, shows fingerprints).
Finishes:
|
|
|
|
|
Matte Lamination |
Gloss Lamination |
Spot UV |
Foil Stamping |
Lamination: Adds durability and sheen. Matte Lamination: Sophisticated, non-reflective, velvety touch. Gloss Lamination: High shine, makes colors pop, protective. Soft Touch Lamination: Ultra-velvety, luxurious feel.
Spot UV: A glossy, raised coating applied only to specific design elements (like text or logos) for contrast and tactile interest.
Foil Stamping: Metallic (gold, silver, copper) or colored foil applied to specific areas for elegance.
Consider Durability: Especially for frequently handled books, lamination is highly recommended.
5. Determine Accurate Measurements
Precision is critical for a perfect fit. You'll need:
Book Height: Measure vertically from top to bottom of the closed cover.
Cover Width: Measure horizontally across the front cover only (spine to edge).
Spine Width: Measure the thickness of the book block (pages). Press the book closed firmly for accuracy. Use calipers if possible.
Flap Width: Decide how wide the inside flaps should be (typically 2-4 inches). Measure the book's cover thickness (front board + spine + back board width) to ensure flaps will tuck inside comfortably.
Total Width: Calculate: Front Cover Width + Spine Width + Back Cover Width + (2 x Flap Width).
Bleed: Add at least 0.125 inches (3mm) of "bleed" around all edges where color/background extends to the edge. This ensures no white borders after trimming. Your final design canvas size will be: Total Width + (2 x Bleed) by Book Height + (2 x Bleed).
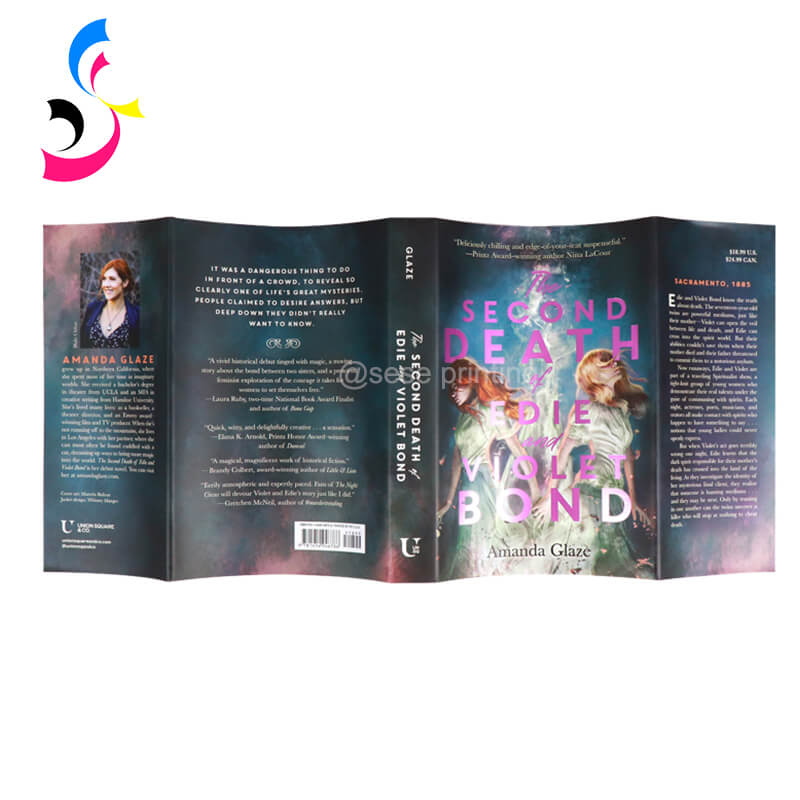
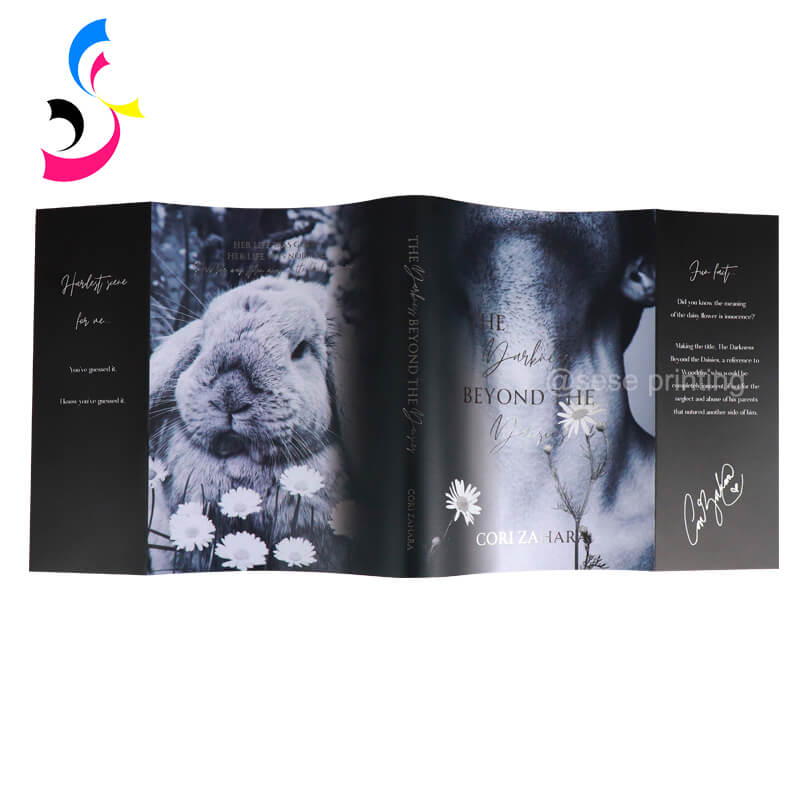
6. Design Your Dust Jacket
Now, create your layout using design software (Adobe InDesign is ideal, Illustrator or Photoshop also work):
Set Up: Create a document with your calculated dimensions, including bleed. Set guides for the spine center and flap edges.
Key Areas:
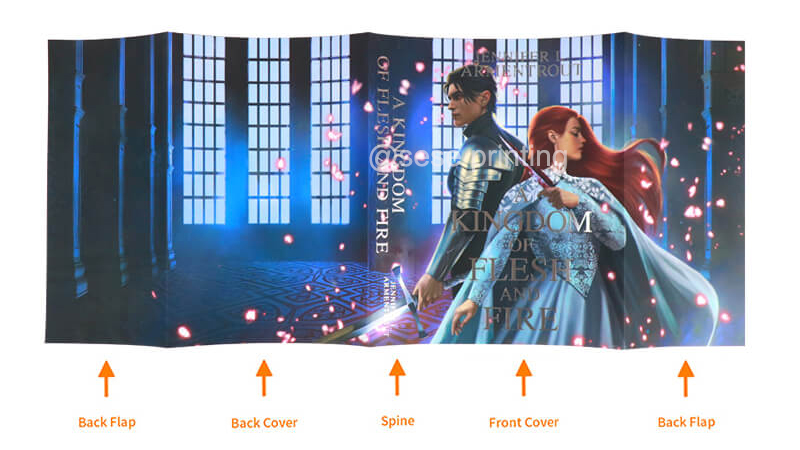
Front Cover: The star! Feature title, author, compelling imagery.
Spine: Title, author, often publisher logo. Ensure text is readable when book is shelved.
Back Cover: Blurb/synopsis, author bio/photo, barcode, quotes/reviews, publisher info.
Front Flap: Often continues the blurb or provides enticing teasers.
Back Flap: Typically author bio, photo, publisher details, or series info.
Design Principles: Use hierarchy (make the title stand out!), ensure readability (fonts, contrast), align elements cleanly, and maintain consistency. High-resolution images (300dpi) are essential.
Proofread Meticulously: Typos on a jacket are glaring. Check spelling, punctuation, and factual details multiple times.
7. Work with a Custom Printing Manufacturer
|
|
|
|
|
Children Books |
Hardcover Books |
Recipe Books |
Special Edition Books |
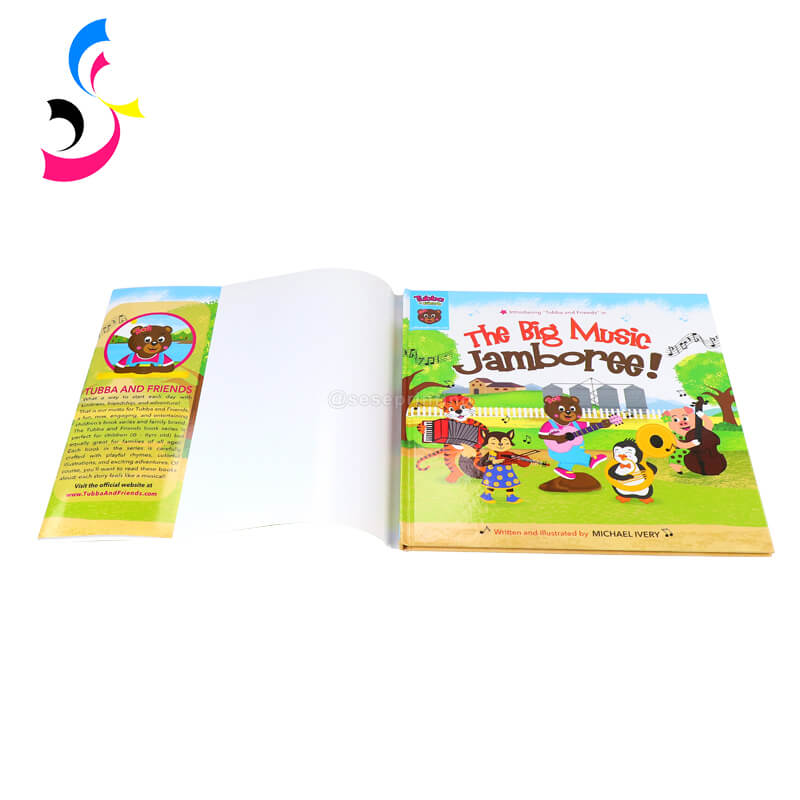
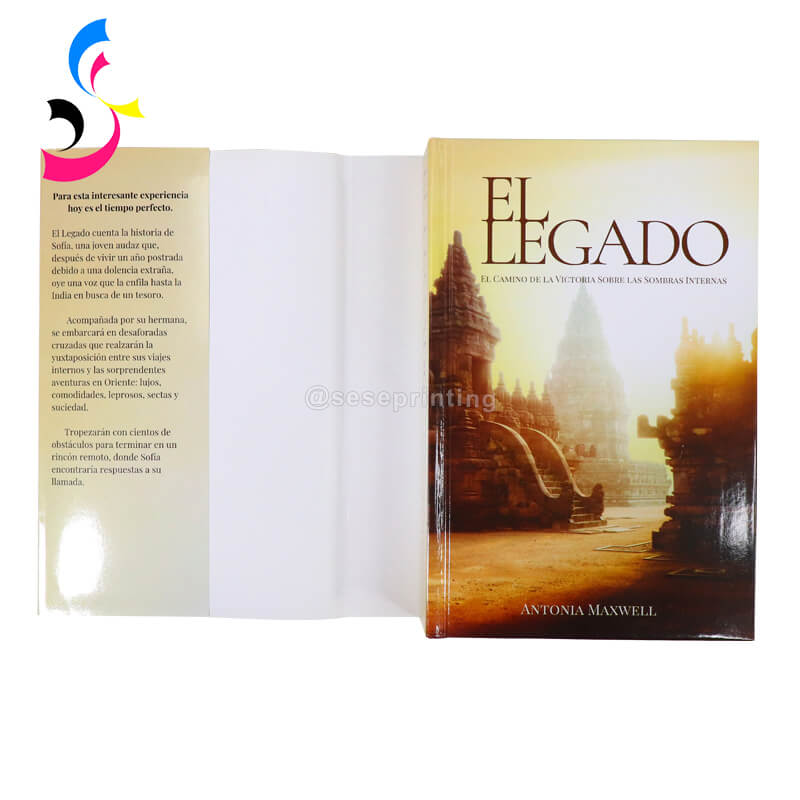
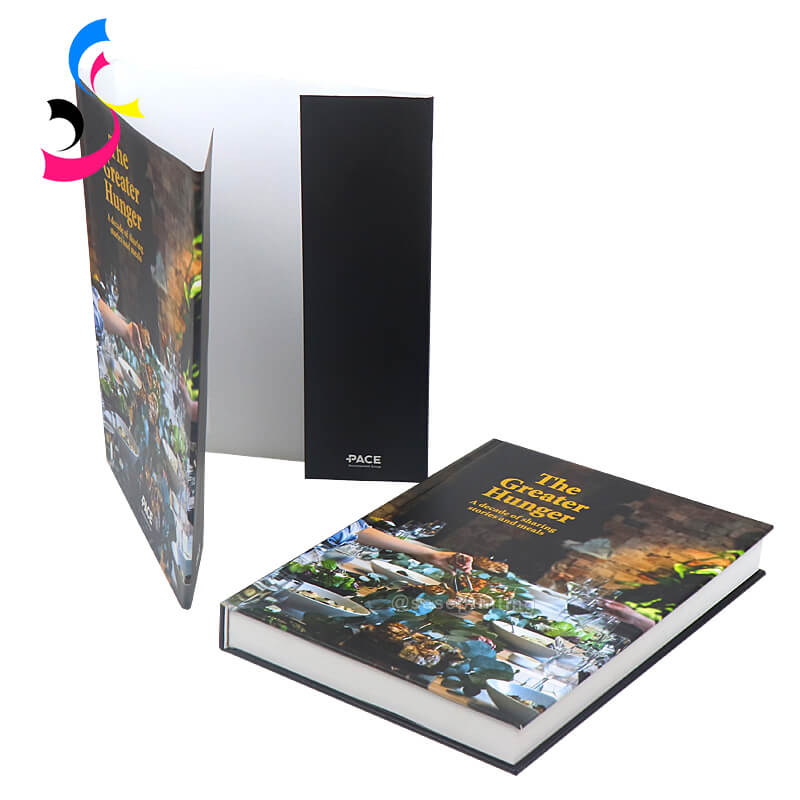
For professional quality and special finishes, partnering with a reliable printer is key. SESE Printing specializes in custom book printing services, including dust jackets with advanced finishes. We offer:
Expert Consultation: Guidance on materials, finishes, and file setup. We provide free artwork checking service.
High-Quality Printing: Advanced digital or offset presses for vibrant, sharp results.
Specialty Finishes: Expertise in applying lamination (matte, gloss, soft touch), spot UV, and foil stamping precisely.
Precise Die-Cutting: Ensures the jacket folds perfectly around your book's dimensions.
Prototyping: Option to print a single test copy before the full run (highly recommended).
Ease of Use: Straightforward online ordering and support. Provide them with your final print-ready PDF (including bleed and crop marks) and specify your chosen paper and finishes clearly.
8. Test, Print, and Wrap
Test Print (Proof): If possible (especially for complex designs or expensive finishes), order a single physical proof from Sesame Printing. This allows you to check colors, alignment, feel, and fit before committing to the full batch.
Final Print: Once approved, proceed with your full print run.
Careful Wrapping: Handle the jackets gently. Center the spine area over the book's spine. Fold the flaps neatly inside the front and back covers. Smooth out any air bubbles.
9. Market or Gift Your Custom Book
A custom dust jacket enhances your book’s appeal and resale value. Use it for:
-
Limited edition releases
-
Author signings and events
-
Holiday or promotional gifts
-
Subscription box exclusives
-
Bookstore displays
If you're an author or brand, share your book on social media, your website, or through email marketing to showcase the stunning custom dust jacket.
10. Conclusion
More than just protection, a custom dust jacket transforms a book into a unique artifact and a statement of care. The journey—from inspired design planning and material selection to precise measurement and professional printing with experts like Sese Printing—culminates in a cover that imbues your book with fresh character and significant value. Whether revitalizing a cherished classic, elevating your own work, or crafting an unforgettable gift, the power to reimagine a book's identity rests in your hands. Embrace this creative process and relish the rewarding result: a book beautifully reborn.
 How to Make a Graphic Novel
 You May Also Like


 Tel
Tel
 Email
Email
 Address
702 No. 21 Huizhong Road, Shiqiao St, Panyu District. Guangzhou city, Guangdong Province. China

Joy
 Whatsapp