Home
HomeHow to Print Custom Designs on Hardcover Notebooks with Professional Quality
 Jan 16,2026

 SESE
SESE
How to Print Custom Designs on Hardcover Notebooks with Professional Quality
1. Introduction
Custom hardcover notebooks are an excellent way to combine functionality with style. Whether for personal use, corporate branding, or as promotional giveaways, custom-printed notebooks make a lasting impression. Printing high-quality designs on hardcover notebooks requires attention to detail and expertise in the printing process. Achieving professional-quality printing on hardcover notebooks, however, requires a blend of the right materials, techniques, and design know-how. This guide will walk you through the essential steps to transform your unique vision into a tactile, high-end product.
2. Understanding the Types of Custom Hardcover Notebooks
Classic Hardcover Notebooks: These are the most common types, offering a sturdy, durable cover with a seamless, professional appearance. They’re perfect for everyday use, business meetings, or as a corporate gift.
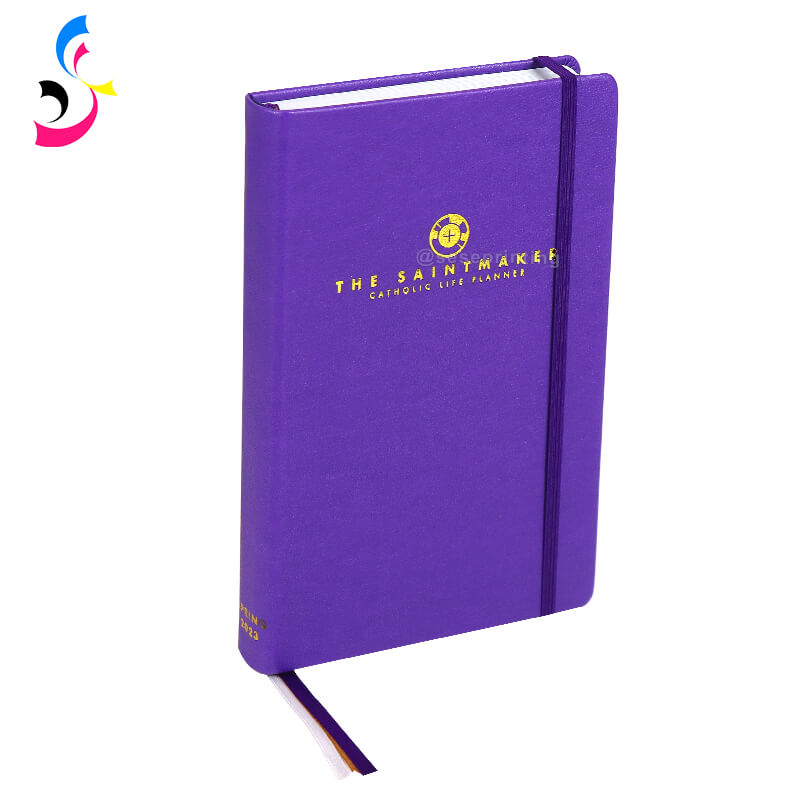
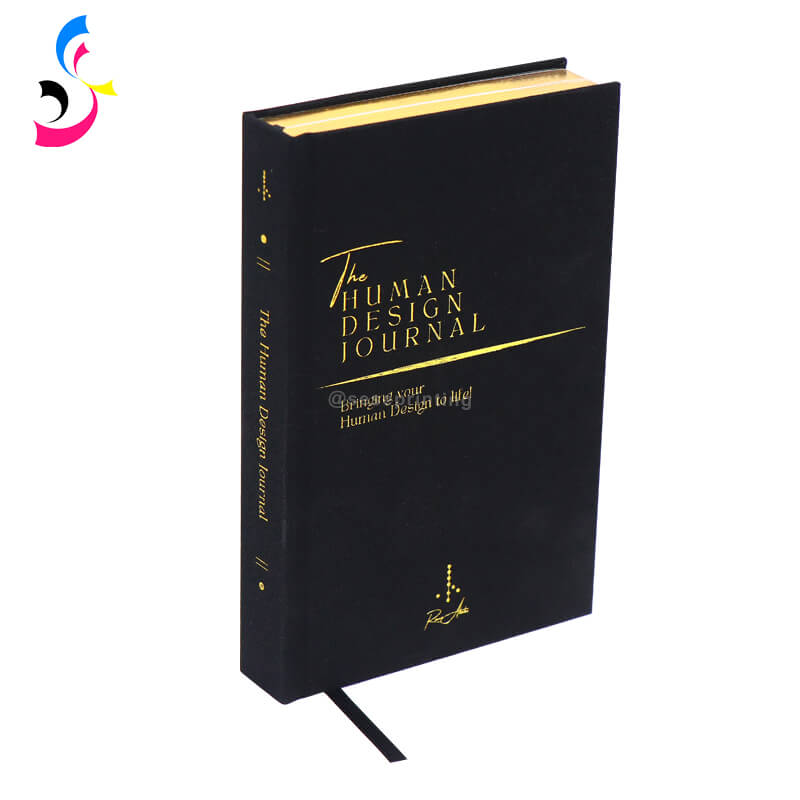
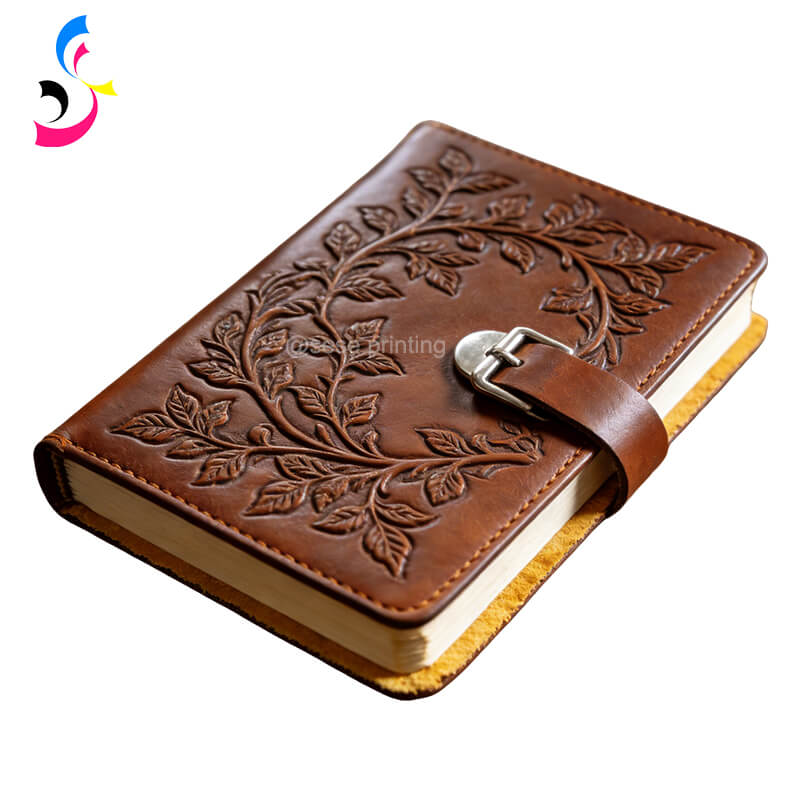
Premium Hardcover Notebooks: Often tailored for luxury products, these notebooks feature high-end materials like faux leather, linen, or cloth covers, offering a premium touch and feel.
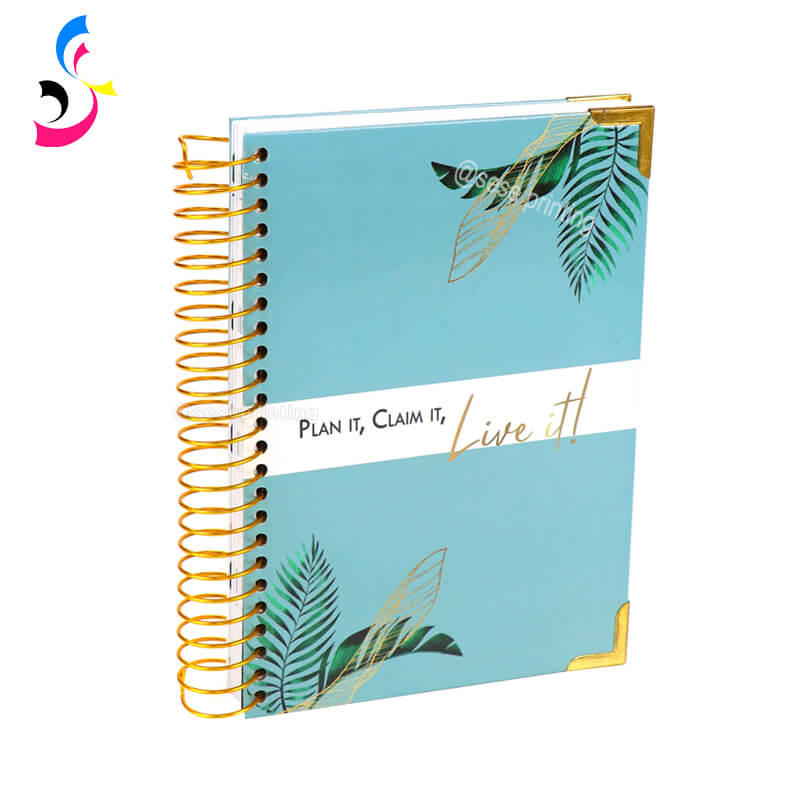
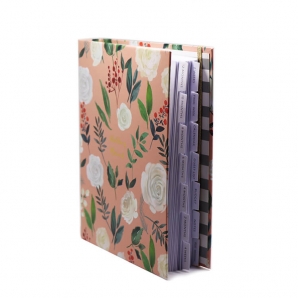
Custom-Bound Notebooks: These notebooks offer flexibility in design and binding options, such as a unique size, rounded corners, or specialized textures.
Understanding the variety of notebooks helps you choose the right style for your project. Whether you're creating a sophisticated luxury product or a more straightforward business tool, the right design can set your notebook apart from the competition.
3. Choosing the Right Materials for Printing
Paper Quality: The type of paper used in the interior pages affects both the writing experience and the print quality. Opt for high-quality, acid-free paper to ensure your notebooks feel smooth and last long. For heavier designs, consider thicker paper to prevent ink bleed-through.
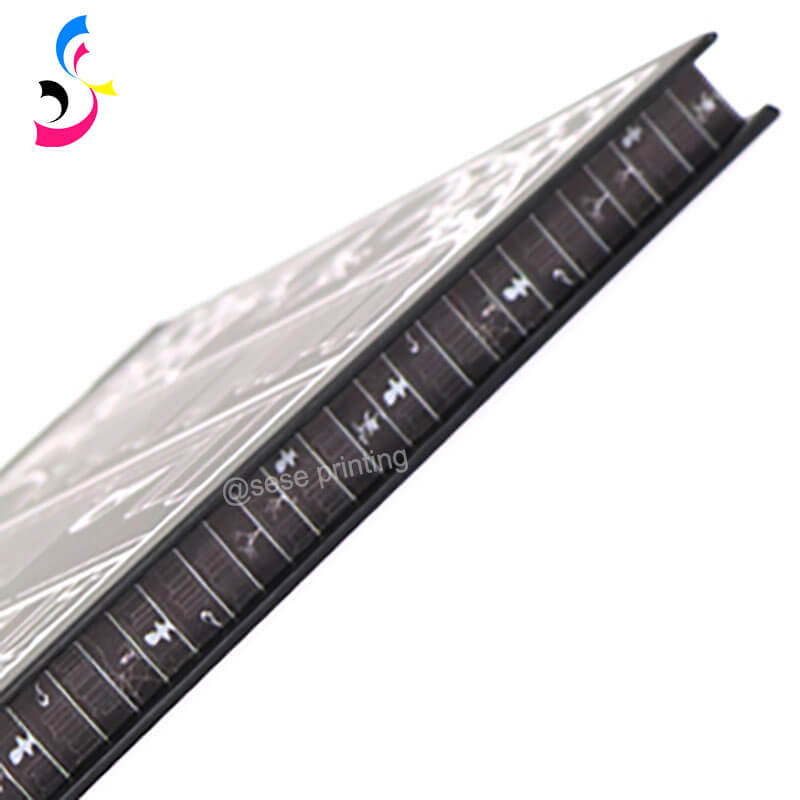
Binding Options: Hardcover notebooks typically use case binding, which gives a sturdy and polished look. Make sure the binding is reinforced and durable to enhance the longevity of the book.
Cover Materials: The cover material dictates the overall look and feel of the notebook. Options include:
|
|
|
|
Leather |
Linen |
Full Color Printed Paper |
-
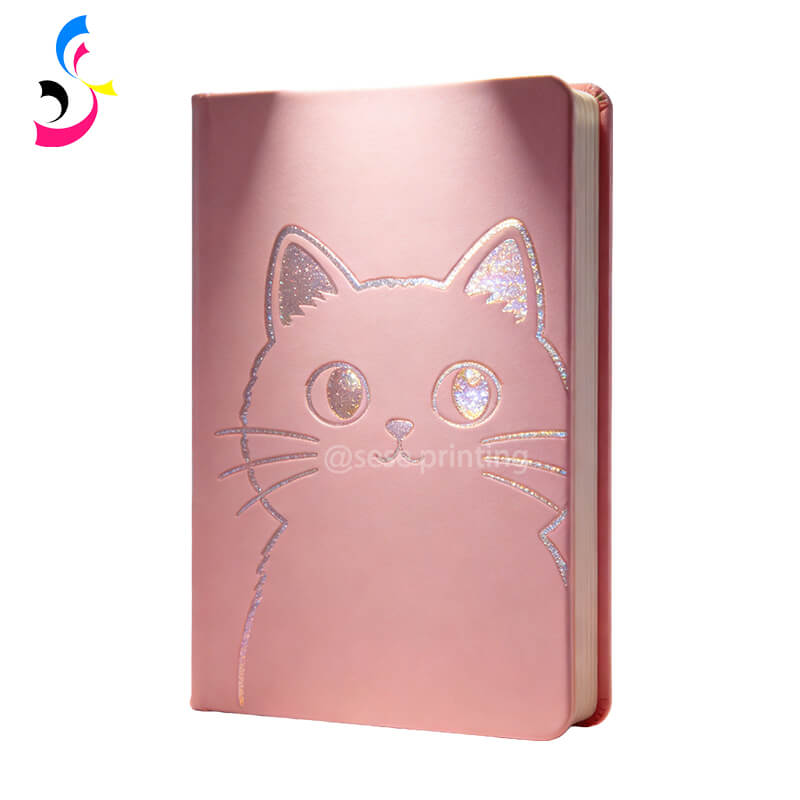
Leatherette & Synthetic Leather: Imparts a luxurious, classic book-like appearance. Excellent for branding with techniques like foil stamping or debossing.
-
Fabric & Linen: Offers a distinctive, premium, and durable texture. Printing can be done directly or via a label that is then mounted to the cover board.
-
Textured Paper: Offers a unique tactile experience, making it perfect for those seeking a more organic, handcrafted feel.
-
Full-Color Printed Paper: Allows for vibrant designs, logos, or patterns that are printed directly onto the hardcover, which is a great choice for more intricate designs.
4. Printing Techniques for Custom Hardcover Notebooks
|
|
|
|
|
Foil Stamping |
Embossing |
Debossing |
Spot UV |


Offset Printing: The most commonly used technique for printing on hardcover notebooks, offset printing provides high-quality, vibrant colors with crisp detail. It is best for large runs, ensuring consistent quality across every unit.
Digital Printing: Perfect for smaller orders, digital printing allows for more customization, including full-color printing and photo-quality images. While slightly less vibrant than offset printing, it is more cost-effective for short runs.
Foil Stamping: This technique uses metallic foil to create shiny logos, text, or accents on the cover. It’s an excellent choice for adding a luxurious and eye-catching touch to your notebooks.
Embossing/Debossing: Embossing raises the design for a textured feel, while debossing presses it into the cover. Both techniques are ideal for creating intricate logos or custom designs that stand out.
Spot UV: A high-gloss coating applied to specific areas of the notebook cover, Spot UV adds a sleek, shiny effect that contrasts with matte areas, highlighting key design elements.
Screen Printing: Excellent for bold, opaque graphics on materials like fabric or leatherette. Creates a slightly raised, textured ink layer.
5. Designing Your Custom Cover
Bleed & Safe Zones: Always include a bleed area (typically 3mm) beyond the trim edge to avoid unsightly white borders. Keep critical text and logos within a safe margin from the edges.
Resolution: Ensure all images and graphics are at least 300 DPI at final size to prevent pixelation.
Color Mode: Design in CMYK color mode for printing, not RGB. Consider using Pantone (PMS) colors for precise brand color matching, especially in offset printing.
File Format: Supply print-ready PDFs with all fonts embedded and images linked correctly.
Logo and Brand Identity: Make sure your logo is front and center, especially if you’re creating a notebook for a brand or company. Use your brand’s colors and fonts to maintain consistency.
Artwork and Graphics: Custom artwork can include illustrations, photos, patterns, or inspirational quotes. Keep the design clean and balanced, ensuring that the text and images complement each other without overwhelming the viewer.
Typography: Choose fonts that are legible and in line with your brand. Custom fonts or embossed text add a touch of luxury and sophistication.
Mockups and Prototypes: Before proceeding to print, work with a designer to create a mockup or digital proof of your notebook design. This allows you to see the design in context, ensuring it will look as expected in print.
6. Finishing Touches and Binding Techniques
|
|
|
|
Sprayed Edges |
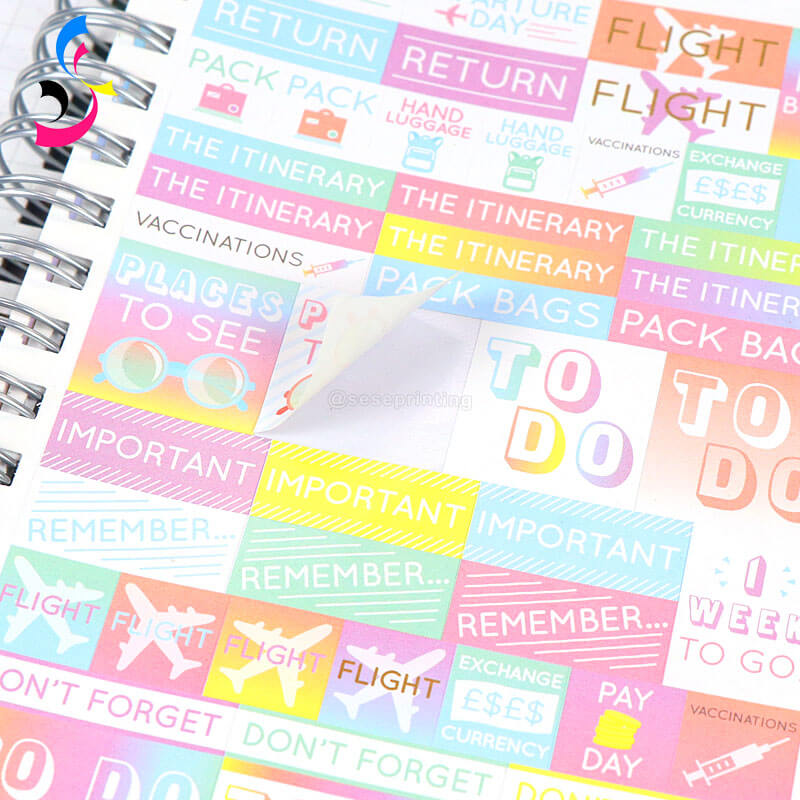
Sticker Pages |
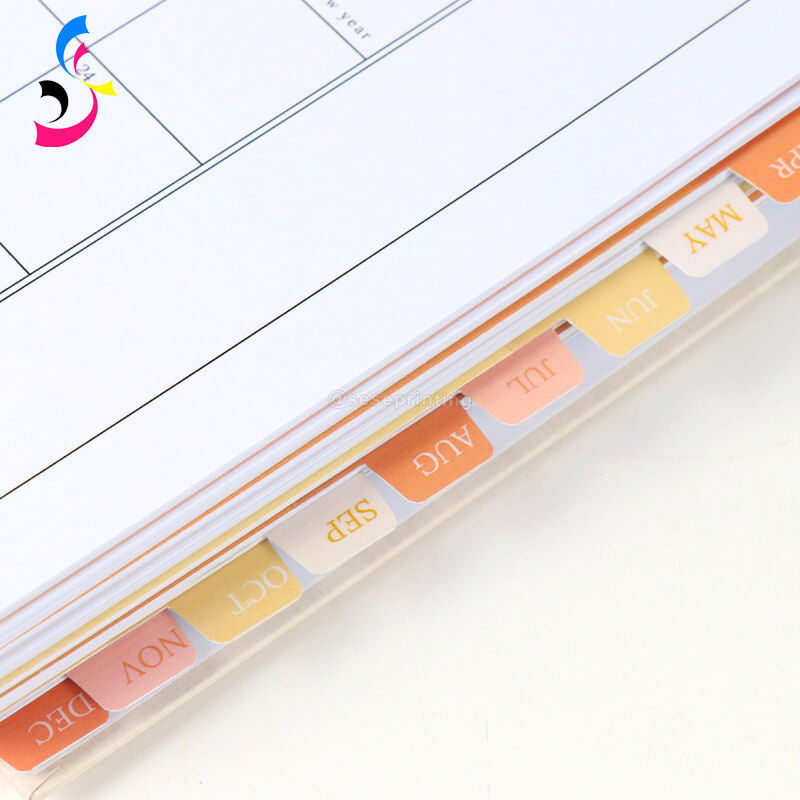
Tabs |
|
|
|
|
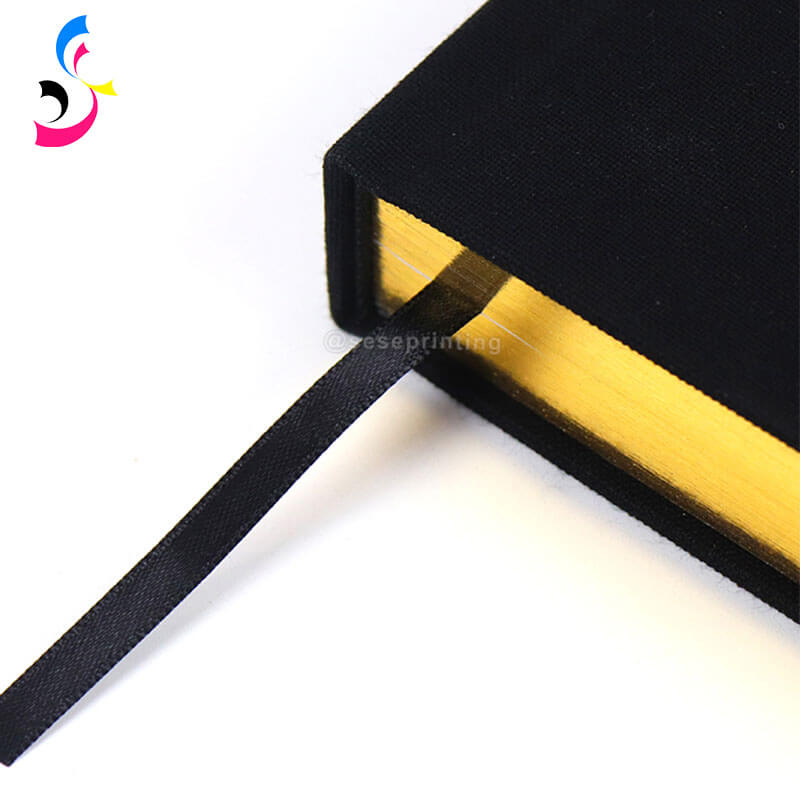
Ribbon Bookmark |
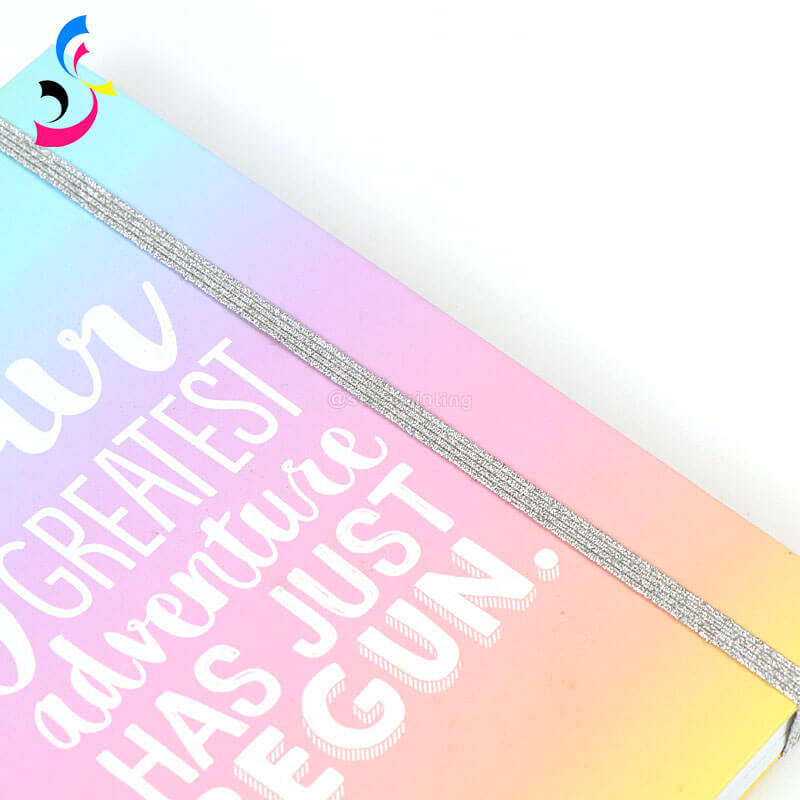
Elastic Closure Band |
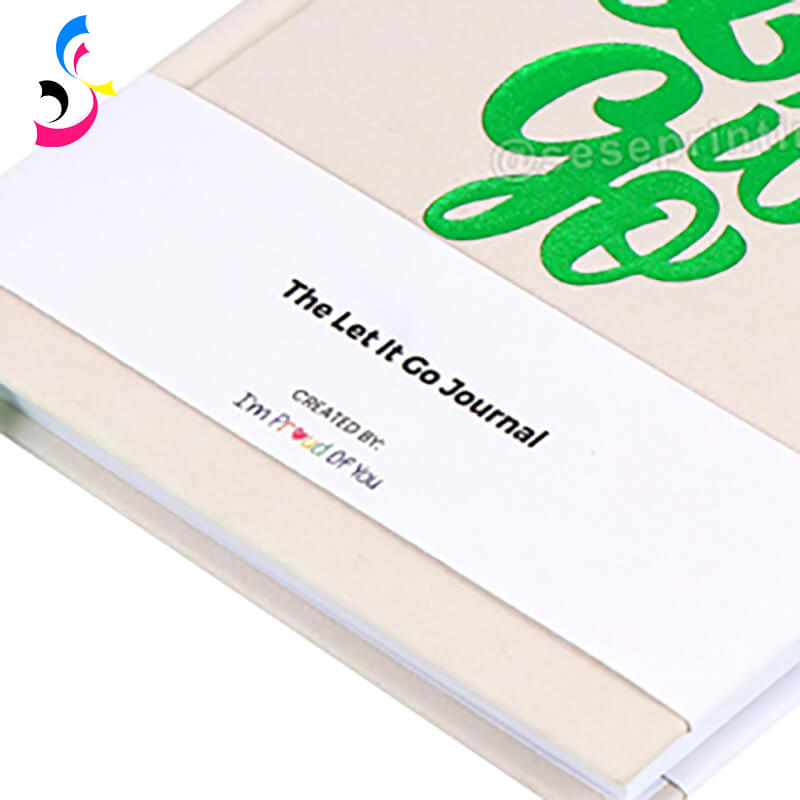
Paper Banner |
Laminated Covers: Laminating the cover adds an extra layer of durability and gives it a smooth, glossy finish. It's also a great way to protect the design from wear and tear.
Spine Customization: The spine of a hardcover notebook is an often-overlooked area, but it offers space for additional customization. Add a logo, text, or design to the spine for a more unique, personalized notebook.
Edge Treatments: Consider colored, gilded (foiled), or speckled page edges for a custom, finished look.
Additional Features: Small touches such as a ribbon bookmark, elastic closure band, or rounded corners can elevate the overall product and improve its usability.
7. Quality Control and Professional Printing Standards
Printing Samples: Always ask for a physical sample before proceeding with the full print run. This allows you to check the color accuracy, paper quality, and overall finishing.
Consistency in Colors: Ensure the printing company uses reliable color calibration to maintain consistency throughout the production run.
Durability Checks: Professional printers should assess the strength of the binding and the durability of the printed materials to ensure the notebook will last over time, even with regular use.
8. Conclusion
When it comes to creating high-quality custom hardcover notebooks, professional printing is key. At SESE Printing, we specialize in crafting custom hardcover notebooks with a focus on exceptional print quality, premium materials, and attention to detail. Whether you're creating a corporate gift, a personalized journal, or a luxury product, we bring your vision to life with precision.
From choosing the right materials to selecting the best printing techniques, we ensure that each notebook is produced to meet the highest standards. Let SESE Printing be your trusted partner in bringing your custom hardcover notebook designs to life with professional-quality results. Contact Sese Printing today for a consultation and quote on your next premium notebook project.
 Top Benefits of Custom Hardcover Book Printing for Authors & Businesses
 You May Also Like


 Tel
Tel
 Email
Email
 Address
702 No. 21 Huizhong Road, Shiqiao St, Panyu District. Guangzhou city, Guangdong Province. China

Joy
 Whatsapp